
How to fix paint problems
Available to order online at

Over time your paint can become worn or damaged. Cracks can appear as your house moves, pets might scratch the paint, scuffs can occur – there are any number of problems that can appear.
But the fix is easy and you don’t have to completely redecorate your room. With a little spare paint and some useful tools, you can fix the problem and have your finish back to normal.
Key tips for fixing paint problems
Before you start fixing your damaged paint, there are some key tips to get a good finish.
The aim of repairing the damage is to fix the problem and make it appear as if no repair has been made at all. And to do that, it’s all in how you approach the issue.
If you’ve still got leftover paint from the same tin you used to paint the wall, that’s great! You already have the exact colour match you need to repair the damage. If you don’t have any leftover paint, that’s not a problem because we can colour match it for you. If it’s only a small spot of damage you’re repairing, our tester pots are mixed in-store to the colour you need, so you won’t be stuck needing to store leftover paint tins. All you need to do is bring us a sample of the colour you need, tell us what finish you’d like and we’ll match it and mix it for you.
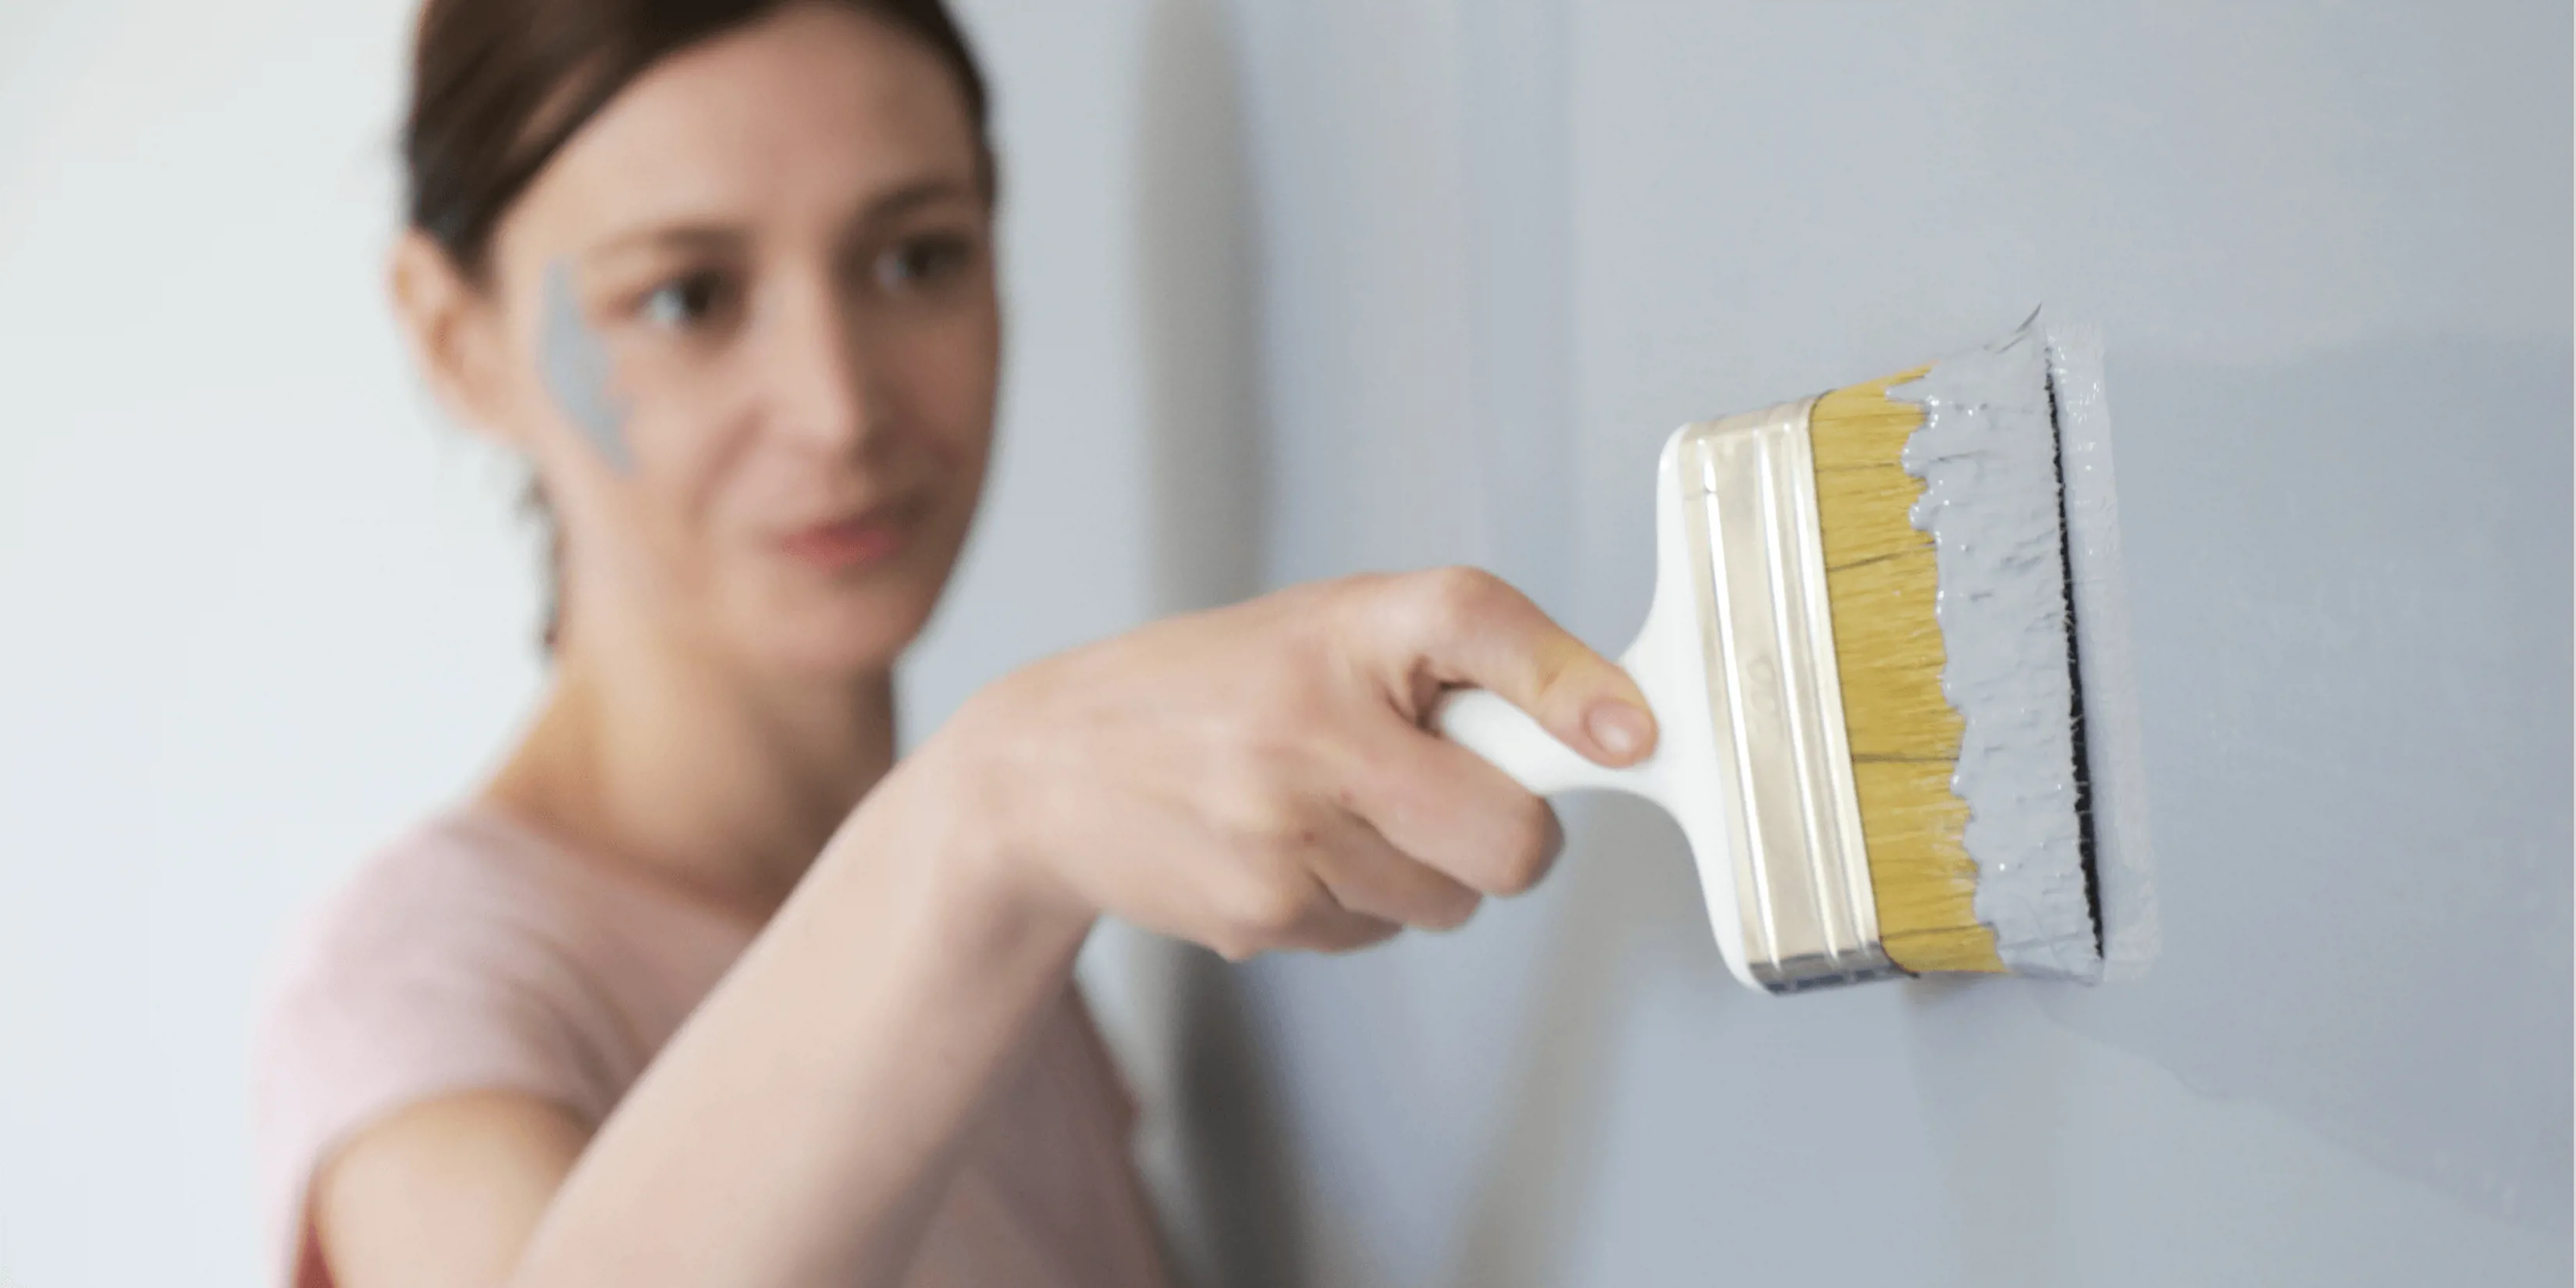
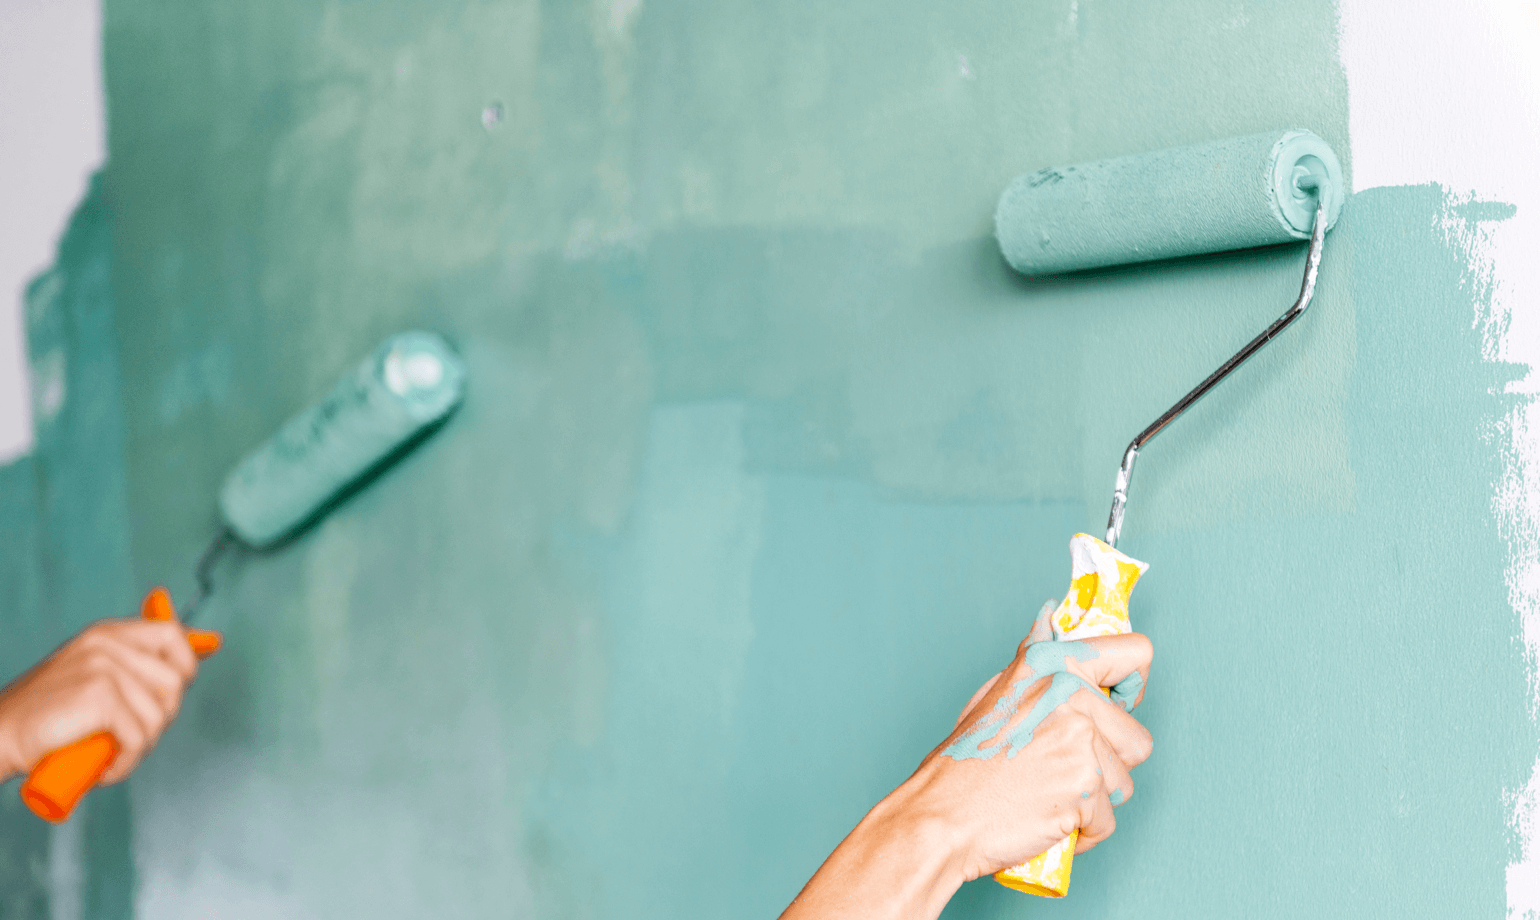
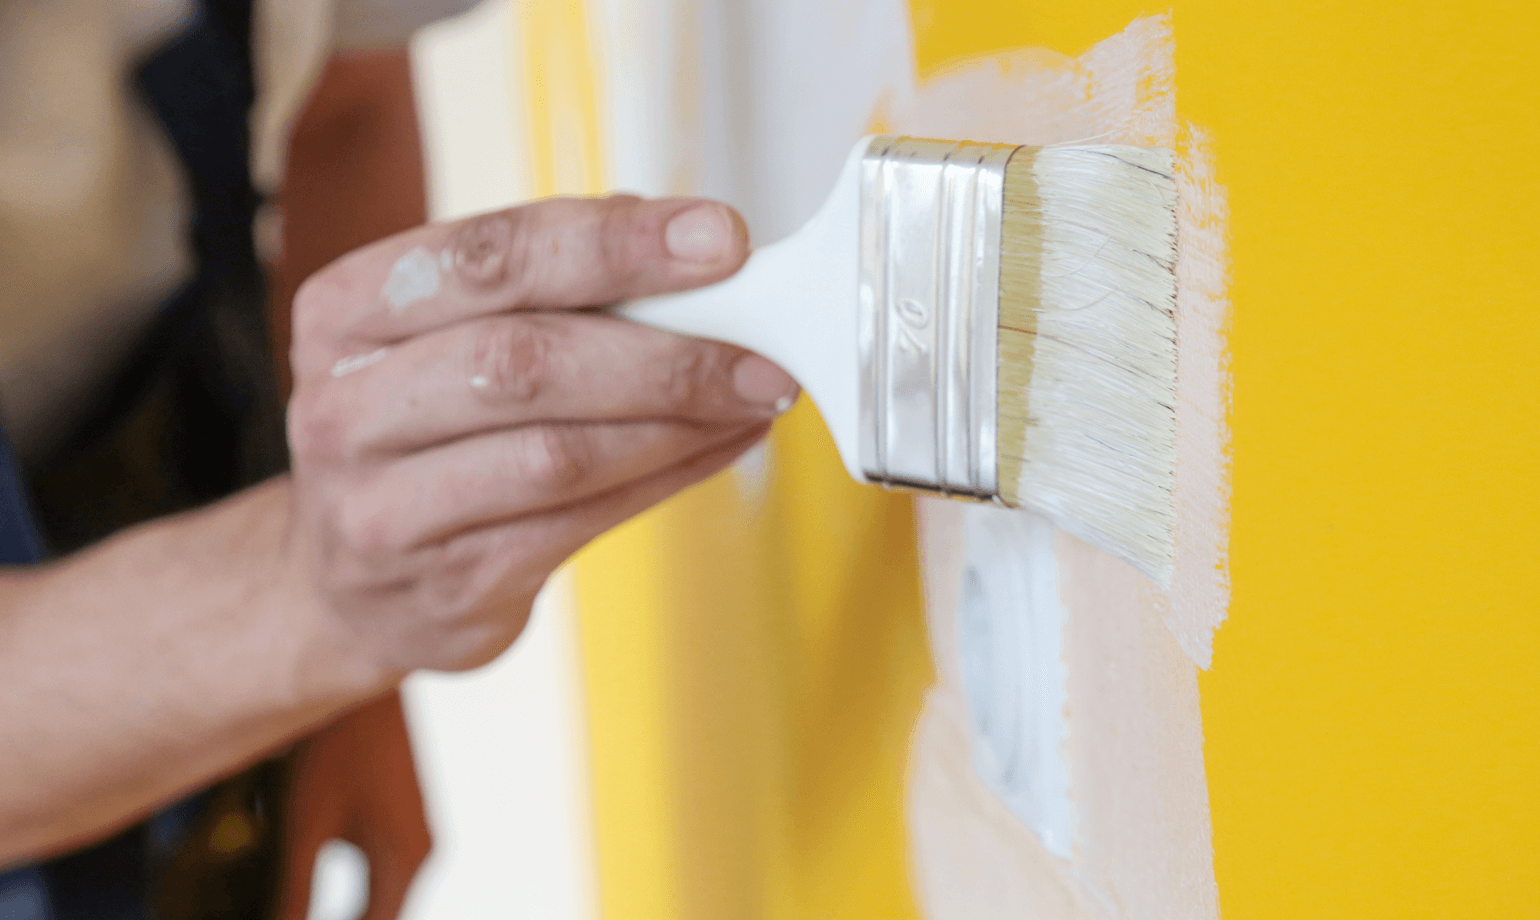
Once you’ve got your paint, you need to use the same method of painting as you did when you first decorated. So if you painted the wall with a roller last time, use a roller again here (unless the repair is really, really small).
Then when it comes to technique, feathering helps blend the paint so there’s not an obvious repair. This is when you apply paint in the middle of the repair and use long light strokes working outwards and painting slightly beyond. Use a small amount of paint at a time until you’ve covered the damage. This helps blend the paint in for a seamless repair.
How to fix chipped paint on walls
Chipped paint is an easy fix, but you first need to check if the damage is only to the paint or the plaster too.
For damaged plaster, use an appropriate filler to repair the chip. If you don’t do this and just paint over the damage, it won’t be a strong repair and is more likely to chip again in the future.
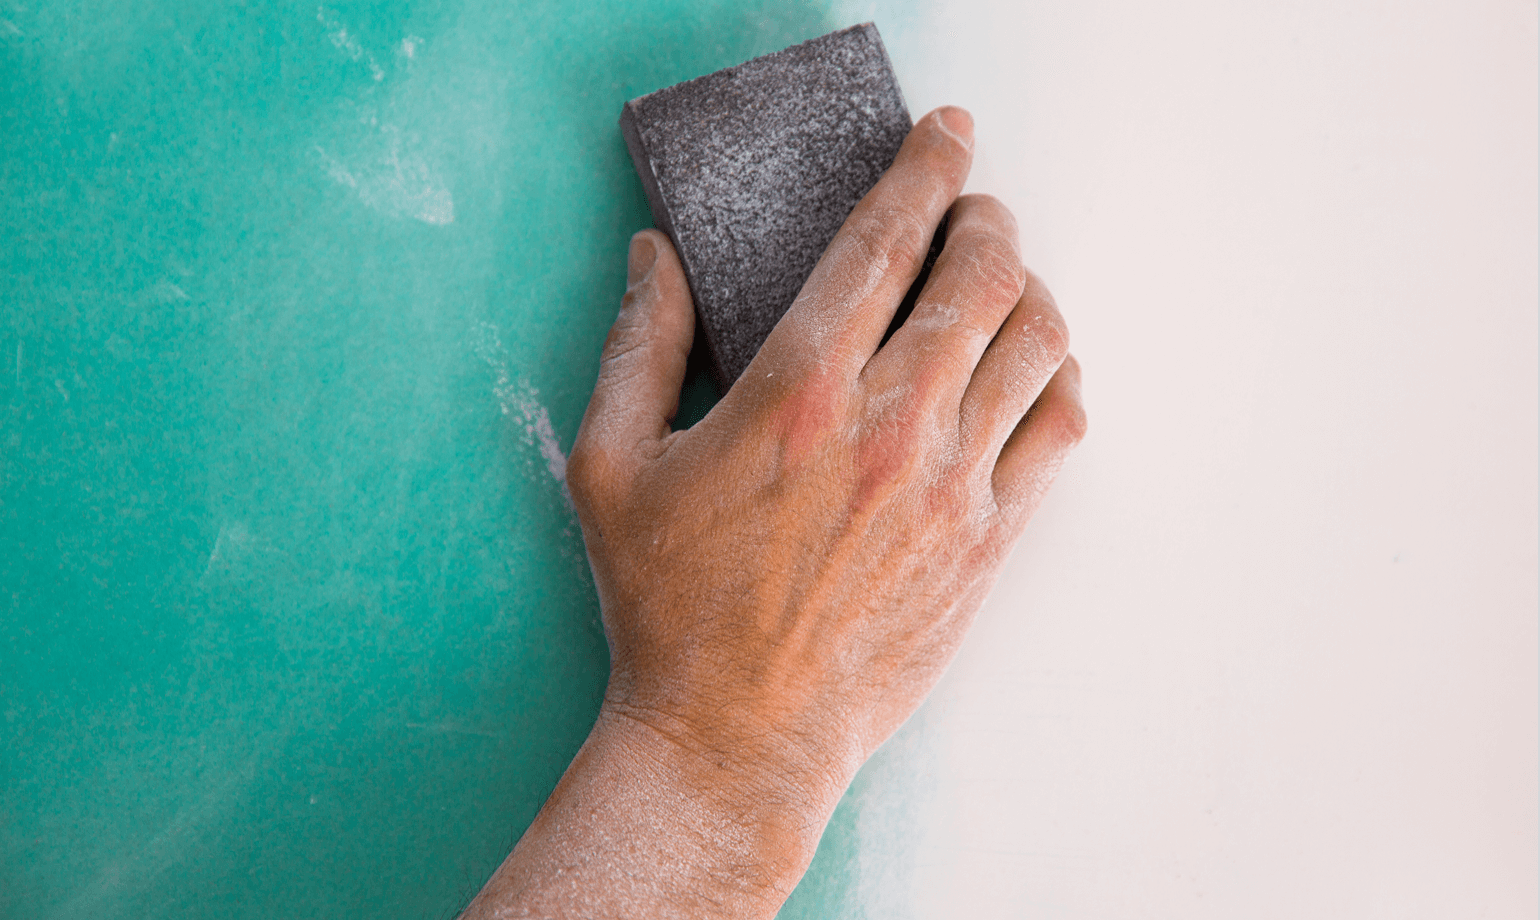
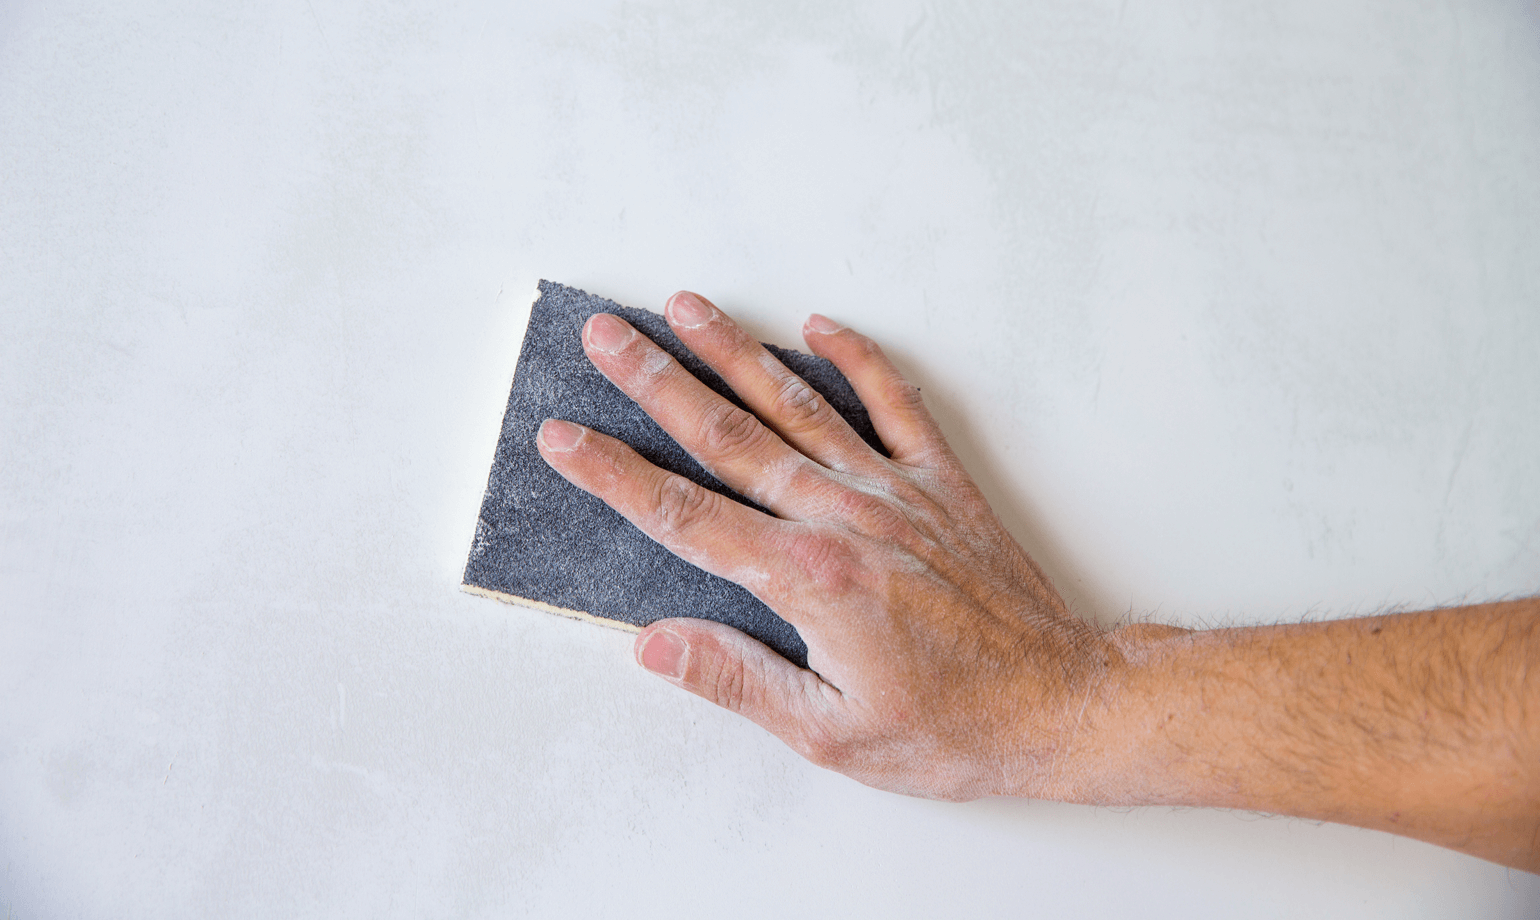
Once the filler has dried, sand it so it’s flush with the wall.
If you’re not filling in the plaster, you still need to sand the chipped paint. Smooth down any rough or peeling edges of paint so you’ve got clean and clear patch ready for painting.
Give the area a quick clean with some sugar soap and then wipe down with clean water. This will get rid of any dirt or grease that you can’t see, leaving a clean surface for the paint to easily stick to.
Then, use your colour-matched paint and the feathering technique to blend in the paint.
Let the first coat dry and assess the coverage. Apply another coat using the same technique if needs be.
How to fix cracked paint on walls
Cracked paint is most common when buildings settle. They’re a natural occurrence and while they look annoying, they’re often inevitable. It can take up to 10 years for a building to stop settling, so you’re bound to notice hairline cracks on occasion.
If you’ve bought a new build property, you should ideally wait a year before changing the colour of the walls. This gives the property the chance to expand, flex and retract throughout all the seasons and so get all the cracks out the way.
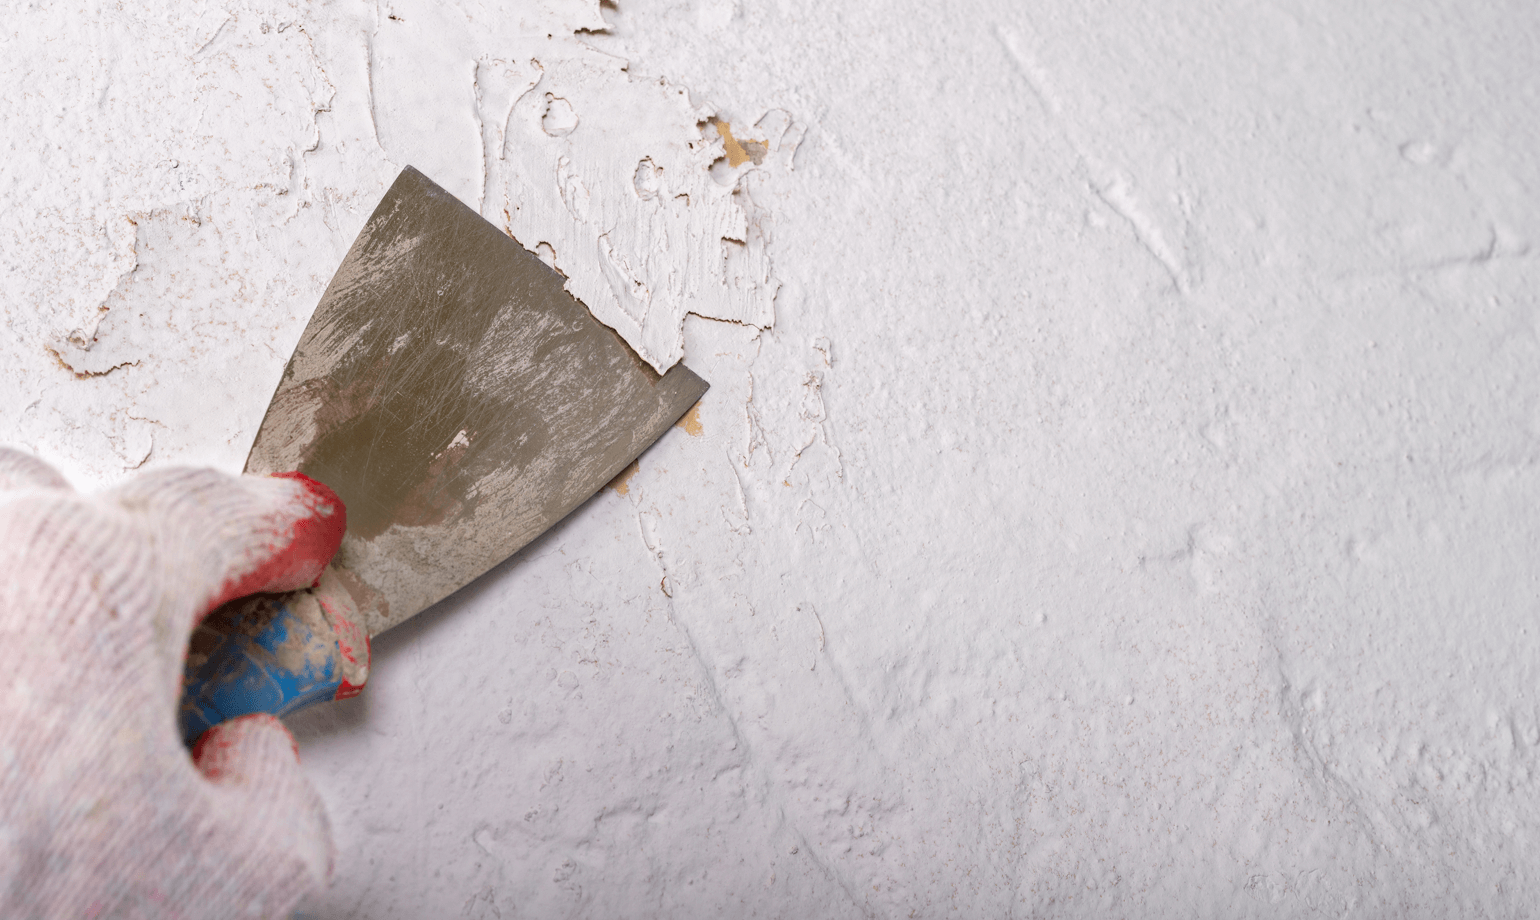
Cracked paint needs to be cleared just like chipped paint. Use a flat-edged scraper to get rid of any loose paint and keep going until you’ve worked away all the paint.
If a crack needs repairing, use a hairline crack filler to fix the problem. Let that dry and with sandpaper, smooth down the repair.
Sand the rest of the area and smooth down any harsh paint edges. The aim of this is to have a flat surface to work with.
Then give it a quick clean with sugar soap and wipe down with water. This gets rid of visible and invisible dirt build-up, leaving you with a surface that paint can easily stick to.
Once the wall is dry, you’re ready to paint.
If it’s a very, very small area you’re painting, a fine brush will work well. Apply the paint in small amounts, lightly feathering along the crack.
If you’ve ended up removing more than a crack’s worth of flaking paint (don’t worry, it happens), then use a normal-sized brush or roller to feather and blend the paint.
Let the first coat dry and check to see if it needs another.
How to fix paint peeling off a wall
Peeling paint is often a sign of damp. So this can be a bigger fix than just painting over the problem.
First, you need to figure out if it is damp. Mould is a key giveaway here so have a look for any black spores on the wall. If you find some, don’t wipe them! You need to use a special mould remover to properly treat it, otherwise, you run the risk of spreading the mould.
To get rid of the mould, peel off the paint in the affected area. You don’t need to sand just yet as this could risk spreading spores. Treat the mould and follow the instructions on your chosen mould remover.
Once the mould is completely removed, sand down the rough edges of peeling paint.
If your mould was caused by damp, we recommend first applying a layer of anti-mould and damp paint. Some paints let you paint over the top of them with a different colour, others are clear so you can put it on top of your normal paint, but some can’t be painted over. So be sure to check what you can and can’t do with the damp paint.
After treating and painting the damp, use your normal paint colour to feather over the patch.
If you don’t have any mould, remove the peeling paint, sand, clean, and paint over.
Bubbling paint can also be treated in the same way and are often a sign of damp too.
How to paint over flaking emulsion
Flaking can occur if the surface hasn’t been prepped properly and if it’s happened in one place, it’s likely to happen on other parts of the wall too.
To fix flaking paint, you first need to remove the loose parts. Use a flat-edged scraper to remove the flaking parts and loose paint.
Sand down the edges of the paint to ensure they’re nice a smooth against the wall.
Use sugar soap then clean water to get rid of grease, grime and dirt.
Once the wall is dry, apply your first layer of paint, starting in the middle and feathering out towards the edges. Let the first coat dry and review to see if it needs another.
How to fix uneven paint patches
For whatever reason, your paint might have uneven patches where it’s scuffed, faded, or not been properly applied.
There are easy fixes to combat this.
For slightly raised edges after using a roller, use a 120 – 150 grit sandpaper to sand down the raised edges and smooth out the bumpy bits. You just need to do this very lightly until the raised edges are smoothed down. If you sand too hard, you might end up taking off the flat paint underneath. If done correctly, you shouldn’t need to touch up the paint.
If you have some areas of paint that are lighter than others, that’s just to do with the distribution. All you need to do is wait for it to dry and add another coat.
Visible brush marks can be infuriating for perfectionists and annoying for the rest of us. If the brush marks are raised, use the same technique as roller marks to sand away the bumps. If the brush marks aren’t raised, paint another coat until you can’t see them anymore.


SIGN UP TO OUR NEWSLETTER
Sign up to our Newsletter to get regular updates, inspirations and more!