

How to use a paint roller
Available to order online at

Painting with a roller is a fast and efficient way to apply paint.
So if it’s your first time using one, here’s our step-by-step guide to using a roller so you avoid streaks, drips and patchy paint.
What you need:
- Roller
- Roller tray
- Extender (if you’ve got a lot of hard-to-reach places)
- Your favourite colour paint
Before we get into technique, you first need to pick the right roller. The type of roller you need depends on what you’re painting and the type of paint you’ll be using. To make it easy for you, here are your choices:
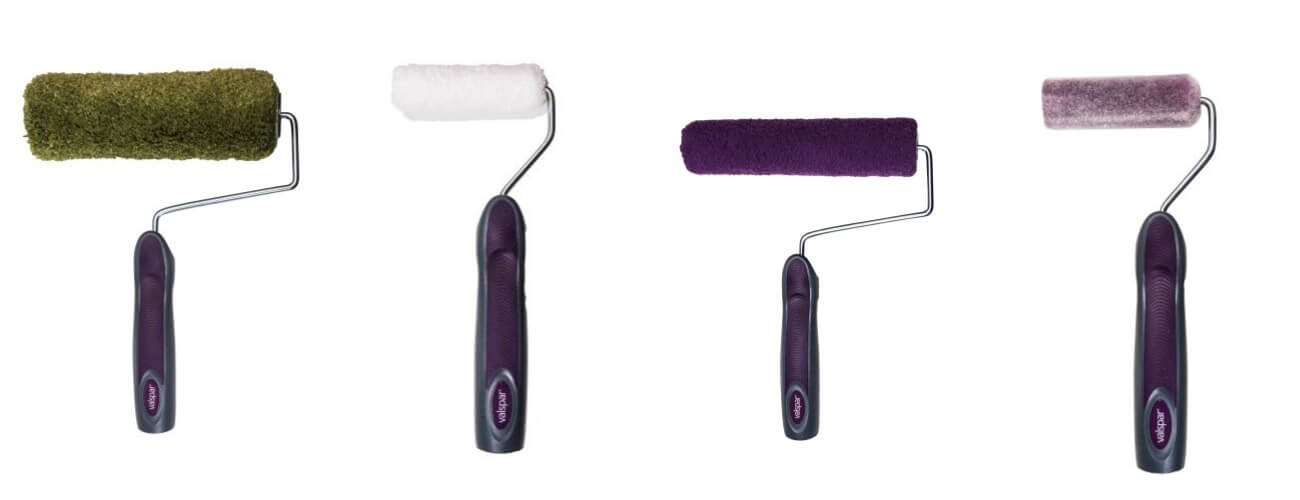
- Short pile (a thickness of 6-8 mm) provides great cover for smooth walls (including drywall) and flat surfaces.
- Medium pile (10-12 mm) is handy for lightly textured walls and ceilings but it can still be used on walls. It picks up more paint than short pile rollers so if you’re faced with a large room to decorate, medium pile might be your best option.
- Long pile (20-32 mm) is best suited to heavily textured walls like concrete and outdoor walls.
- Foam rollers are most effective with gloss or varnish.
- Radiator rollers are for just that, radiators and fiddly areas that require a little bit of bending to get to.
How to use a roller
1. Brush around the edges first
Rollers are perfect for big, blank patches of wall but they can make a mess of the intricate corners. So instead of trying to get into difficult corners, use a paintbrush first to paint around the edges of your wall, skirting boards and ceiling.
2. Remove excess fuzz
If you’re using a pile roller you’ll need to get rid of the clinging excess fuzz. Simply dip it in water and let it dry before use. This will help get rid of the fuzz and make sure that none mixes into your paint and you accidentally end up with a textured wall!
3. Fill & dip
Fill your tray with your chosen colour paint but make sure you don’t over-fill it or you’ll be faced with an overflowing mess.
Dip the roller into the paint and roll it backwards and forwards over the flat section for even coverage.
4. Start painting
Working in a W pattern, apply light strokes focusing on one section of the wall. Be careful not to paint too quickly or you’ll create a mist of paint spray.
Try not to overwork the paint by rolling back and forth over the same spot again and again. This can thin out the paint causing it to splatter, possibly leave roller marks or even pull fresh paint off the wall.
5. Move on to the next section
Once you’ve used up your paint, dip the roller again and focus on a different patch of wall. Paint towards the patch you’ve just finished in overlapping strokes. This ensures that your wet edges will easily blend in for one smooth appearance.
And that’s it! It’s really that easy and once you have your first go, you’ll soon become a roller pro.
Colours used
Use with our premium walls & ceilings paint for great results!

Frontier Paradise
X60R108D


SIGN UP TO OUR NEWSLETTER
Sign up to our Newsletter to get regular updates, inspirations and more!