How to prep walls for painting
Decorating your own walls and ceilings can be a very rewarding and satisfying job. But, before you can get stuck into the painting part there are a few vital preparation steps you need to take. In fact, preparing walls for painting is just as important, if not more, than the painting itself.
Not only will good wall prep help ensure your paint sticks well, it will help to achieve a smoother finish and a more professional look overall.
So, without further ado, here’s everything you need to know about prepping walls for painting before you can add colour to your room.
What materials will I need to prep my walls?
- Dust sheet
- Masking tape
- Sandpaper
- Filler
- Sugar soap
- Valspar Primer & Undercoat
- A roller
STEP 1: Protect the area
First things first, you need to remove furniture from the room and protect spaces with a dust sheet you don’t want to get paint on. Take down your curtains and blinds and where possible, remove the poles too so you can access every nook and cranny of the room. Remove everything from the walls including shelves, light fixtures, picture hooks and mirrors. If you’ve unscrewed any fixtures, tape the screws or bolts to the fixture so you don’t spend hours hunting for them when you’ve finished decorating.
STEP 2: Prepping old wallpaper
Stripping off existing wallpaper can be quite a time-consuming job; however, you don’t always need to strip it all off if you want to paint over the top. The main thing to consider here is the type and condition of the wallpaper. If there are any chips or chunks taken out of the wallpaper or it has an uneven surface, then it’s probably better to strip the wall completely before painting as the paint won’t cover up these imperfections and you won’t get an even finish. However, if it is in good condition and smooth throughout, then painting over wallpaper with a good quality primer and wall paint can leave you with an even finish.
STEP 3: Newly plastered walls
Newly plastered walls are very permeable, so they will absorb liquid very fast. Therefore, it’s important to let your new plaster dry properly before you attempt to prep your walls for painting. As a rule of thumb, you should leave your plaster to dry for up to 4 weeks before decorating, although it can be quicker if you use a heater or if the weather is warm outside and you leave the windows open. You’ll know it’s dry when any dark patches disappear, or it turns a light pink/grey colour. Once dry, you need to apply a mist coat of paint to act as your primer. Mist coat paint is simply watered-down emulsion paint, which you can prepare using white emulsion paint thinned out with water. Three parts paint to one part water should work perfectly.
STEP 4: Sand down the surfaces
Sanding helps to smooth your walls out and means your paint will stick much better. It also will reduce the chance of any imperfections showing through your paint. Wrap 80 grit sandpaper around a wooden block and work your way around the wall to remove and smooth blemishes. Sand in circular motions so you don’t miss a patch. Run your hand over the wall to check for any extra areas that you might have missed. You’ll also need to sand your walls if they are glossy and shiny to remove the coating – otherwise your paint won’t adhere well.
STEP 5: Fill in the cracks
If you’ve only got one or two cracks or holes in your wall, then you can take care of them with a good quality filler and flexible filling knife. If, however, your wall is covered in cracks, you can fill the major ones and use a basecoat to cover up the rest. Lightly sand the filled areas for a smooth finish.
STEP 6: Clean the walls
If you are wondering how to clean the wall before painting, then it’s really very similar to how you would normally clean a wall to keep them looking tidy and finger-print free! Simply use a duster first to remove any dust or cobwebs, and then use a large sponge and soapy water to wipe down the walls to get them completely clean. Leave to dry before starting the next step.
STEP 7: Prime the walls
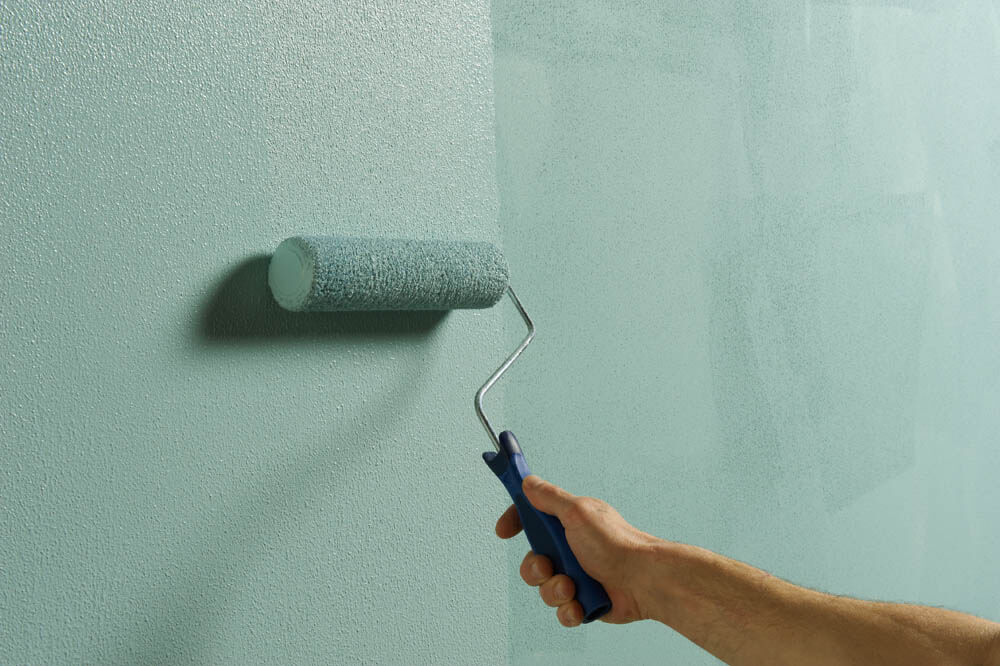
Once your walls are smooth, clean, and dry, it’s time to prime the walls. A tintable grey primer is perfect for covering bright colours as well as before applying underneath a bold paint colour - it will mean you need fewer coats to finish your wall. Our Primer & Undercoat can tackle nicotine, water, and mould stains to leave you with a surface that’s ready to paint. Simply apply the primer to the wall.
STEP 8: Wait two hours
Once you have applied your primer to the walls and ceiling, it’s important to wait two hours until it dries fully. If you use two coats of primer, then you need to wait two hours in between and after each coat.
Now you have followed our 8-step guide to prepping your walls, you are ready to apply your paint colour! Remember we have over 2,000 pre-selected paint colours to choose from, so order your free paint chips today to find your perfect shade.


