
How to easily upcycle ikea furniture
Available at

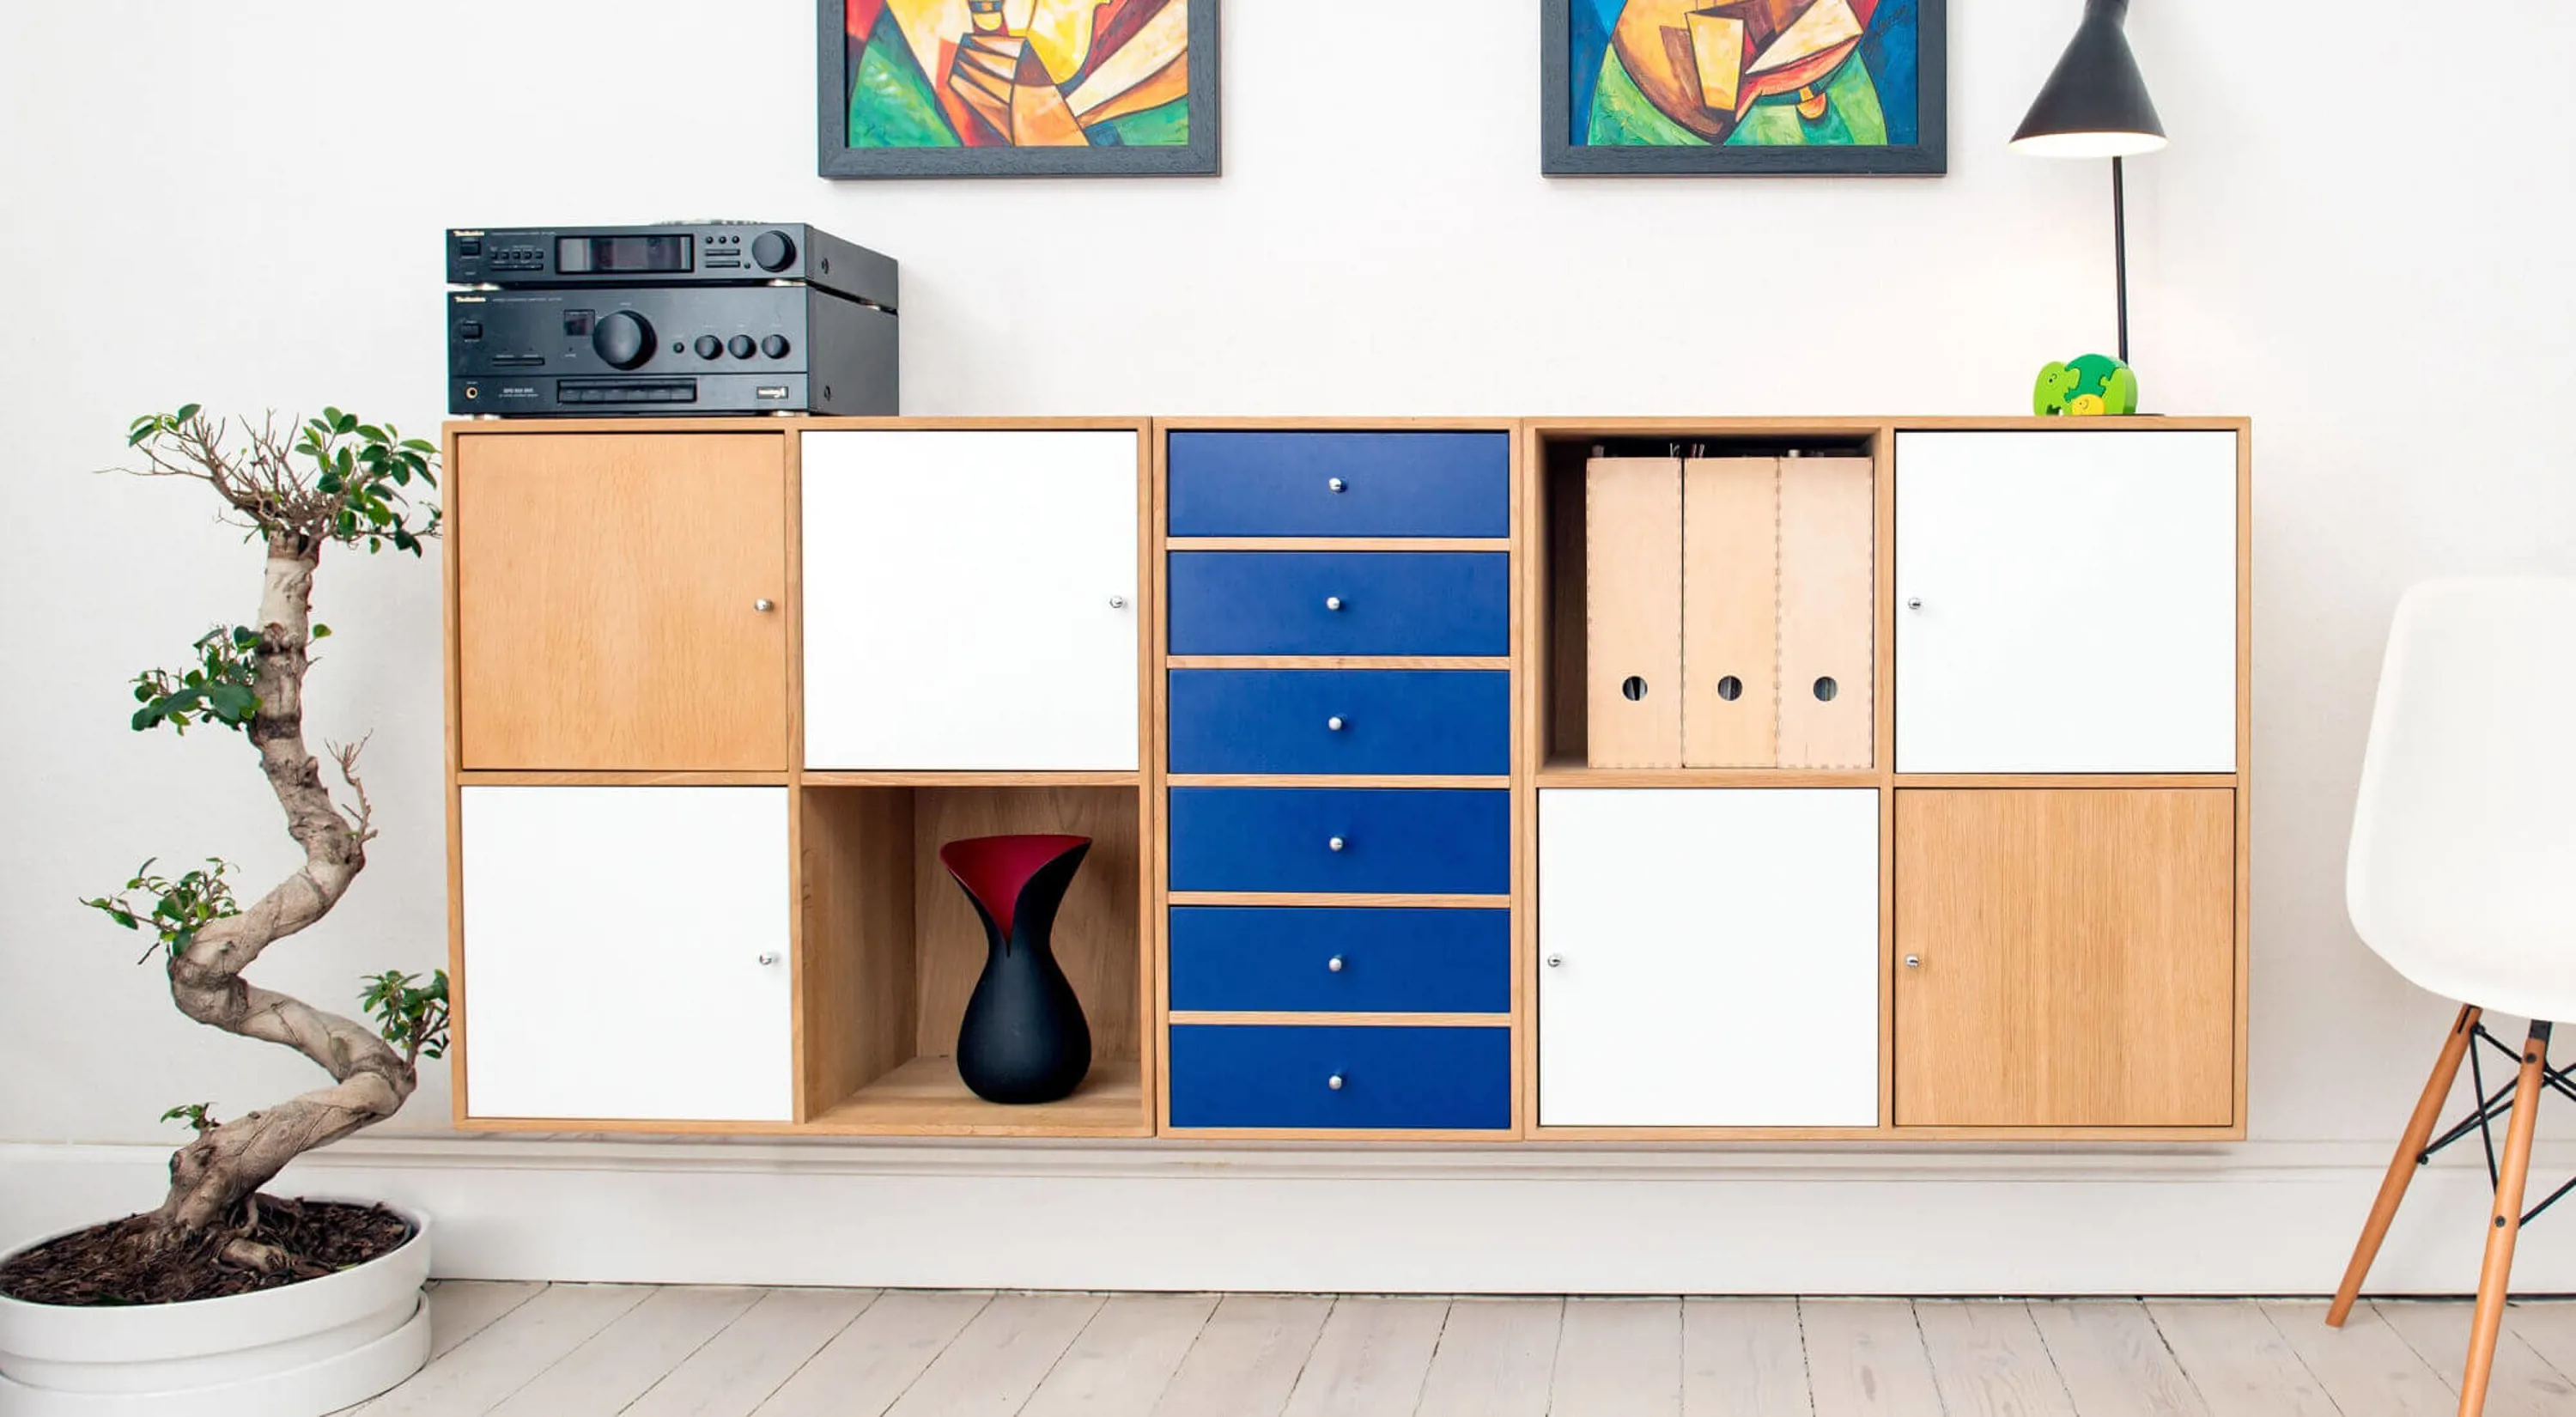
IKEA furniture is a staple in many people's homes, but sometimes, you just want something a little different and more you.
Thanks to simple designs, IKEA furniture is really easy to upcycle and paint. So whether you want to paint a Billy Bookcase, upcycle your Malm drawers, or decorate your Pax wardrobe, here's how you do it.
Best paint for IKEA furniture
Before you start painting, you need to know what to paint with.
Chalk paint is often used for painting furniture. This is because it’s available in loads of different colours, applies easily (even in the nooks and crannies), and the majority of chalk paints don’t need a primer. Chalk paint needs sealing with wax to protect the surface, so bear this in mind.
If you’re painting laminate furniture or it has a slightly shiny surface, make sure you either use a paint that’s 2 in 1 with primer, or use a separate primer. This way, the paint will stick better and is less likely to chip or scratch.
Our Furniture Paint is a primer, undercoat and finish all in one. So you just need to pick up a tub and take it from there. It covers everything, including wood, PVC, glass, metal and even plastic too so you can paint your furniture with just one product.
Check out our video tips with Leanne Lim Walker for upcycling your plastic furniture.
1. Prep the surface
First of all, you need to decide if you’re going to take the furniture apart or not.
Painting it while it’s assembled will save you time and will mean that you only paint the parts you can see. However, the downside is that you might find it hard to get into the nooks and crannies and you might have an uneven finish. If you choose to take your IKEA furniture apart and paint each section individually, be extra careful when you disassemble it. Wooden dowels can bend quite easily and if that happens, you’ll find it much harder to put together again. Don’t forget to label every part too so you can easily match them up.
As with any painting project, a lot of the success is dependent on the prep.
You first need to use sugar soap to clean the surface. Sugar soap is particularly handy because it removes everything from grease marks, stains and build-up of dirt. You can buy spray bottles that make this step really easy, just apply the solution and use a scouring pad to scrub at the dirt. Then use clean water to wash it off and let the furniture dry.
2. Sand and clean
It doesn’t matter what quality your furniture is in, you need to sand it first. This creates a rough surface and helps paint and primer to grip to it and bond properly.
The type of sandpaper to use depends on the quality of your Ikea furniture. If, for instance, your Billy Bookcase is peeling or damaged in places, you need to use 120 grit sandpaper.
If the furniture is generally in good condition, lightly sand it with 240 grit sandpaper.
Most Ikea furniture is made of laminate wood, which can be hard to work with but by sanding first, you’ll find the job a doddle.
After sanding, wipe down the furniture to get rid of the dust.
Once your furniture has dried, you move onto the next step.
3. Prime the surface
Not all paint needs primer (ours certainly doesn’t!) so check the tin to see if you can skip this step. Paint that includes primer is just as effective as using two products, and it’s cheaper too.
Otherwise, give your primer a thorough stir and follow the instructions to apply one coat. If your furniture has been painted before, you’ll only need one coat. For furniture that you’re painting for the first time, you need two coats of primer and should check the tub for coat time.
Leave this to completely dry.
4. Apply your paint
Rollers are better suited to painting big flat areas like the sides of a chest of drawers; paint brushes are better suited for edging and intricate fiddly areas; sprayers are the same as rollers and are handy to cover an expansive area quickly.
Apply liberal amounts to the furniture, spreading it out and ensuring you minimise brushstrokes.
Leave the first coat to dry and lightly sand it with 240 grit sandpaper. This will help the adhesion, minimise brush strokes, and give you a lovely even finish. If you’re covering up a bold colour, you’ll likely need at least two coats. Remember to sand between each coat for a professional-looking finish.
Leave the last coat of paint to dry before moving onto the next step.
5. Finish it
If you use our furniture paint, it doesn’t need a finish coat so all you need to do is let the paint dry.
However if your paint does need a finishing layer, use a product like wax or clear, non-yellowing varnish. This will provide tough protection for your paint and furniture, and ensure your hard work isn’t ruined.
Have you upcycled IKEA furniture?
Show us your before and afters on Instagram or Facebook by tagging @ValsparPaintUK


BRING SOME COLOUR TO YOUR INBOX
Sign up to our Newsletter to get regular updates, inspirations and more!