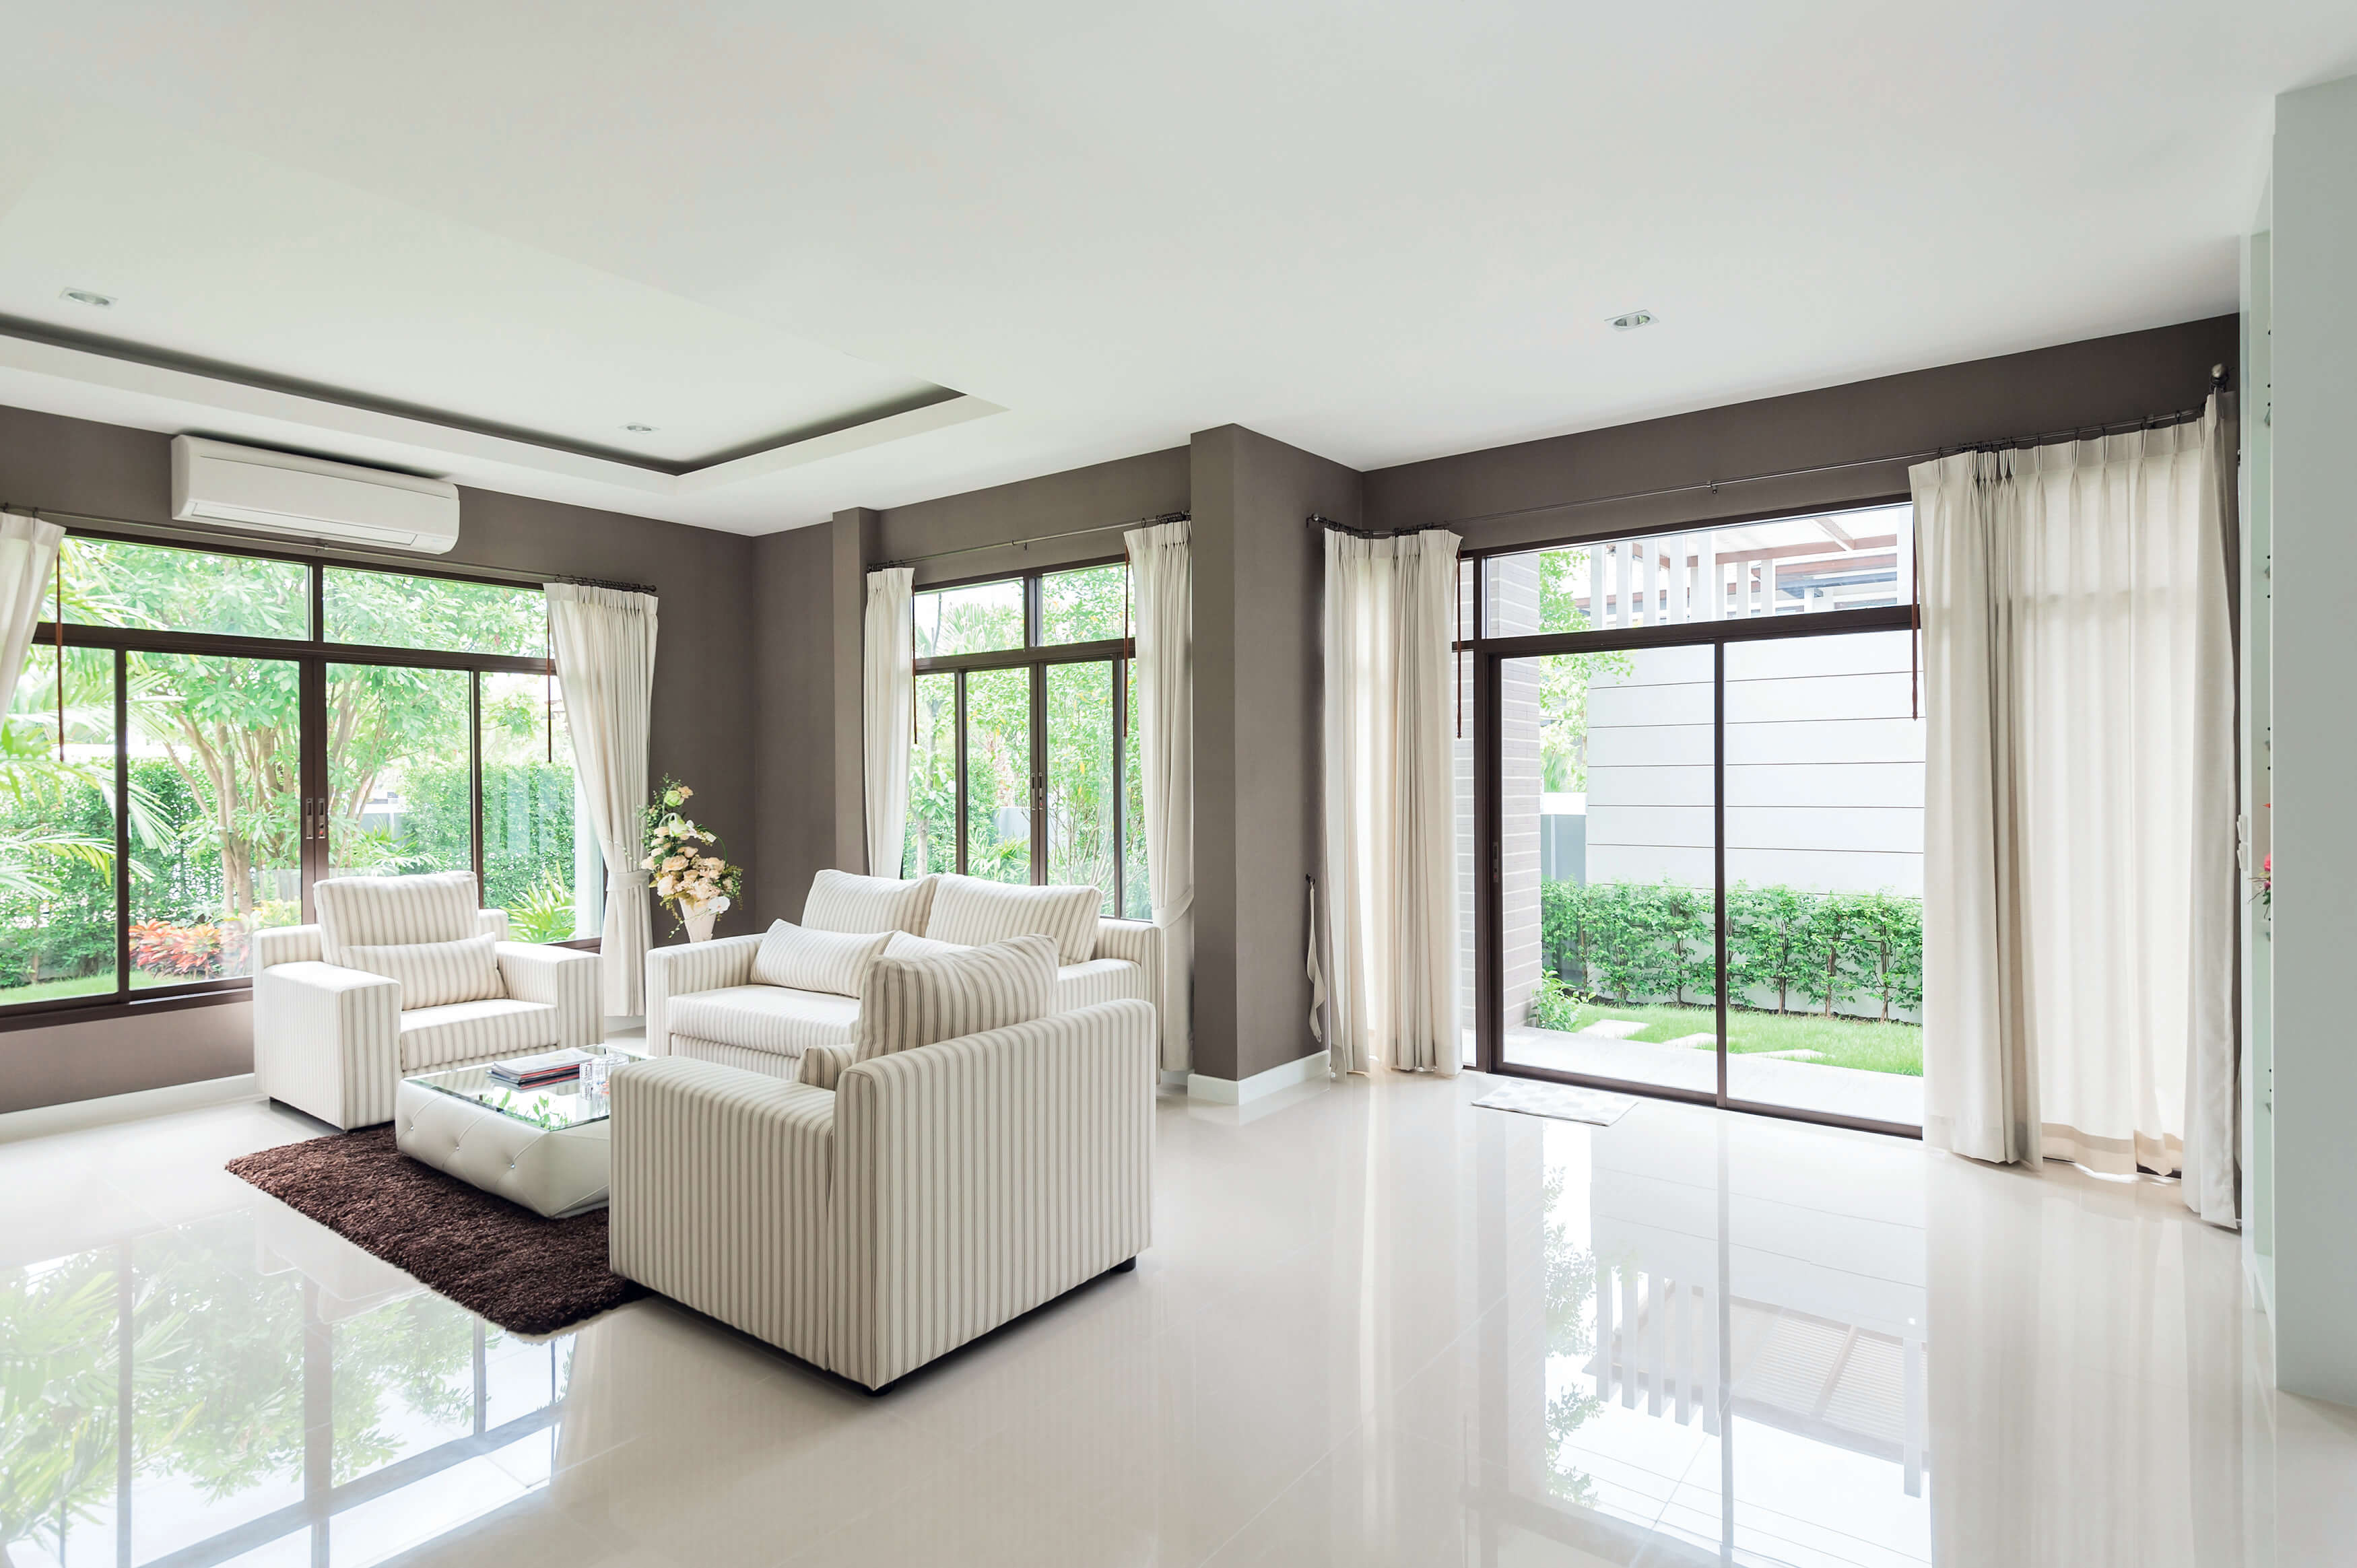
How to paint a ceiling
Painting your ceiling can add a finishing touch to your room and tie everything together.
It might seem like a big and intimidating job, but you can easily finish it in an afternoon. Here’s all the tools you need and the step by step guide to do it yourself.
What you’ll need
- Roller tray
- Paint roller with extension pole
- Brushes for precision
- Painters tape or masking tape
- Sandpaper
- Valspar Walls and Ceilings paint
How to start
1. Choose your paint
Our wall and ceiling paint is available in matt, mid-sheen and silk finishes. We can mix 2.2 million colours so you can be as bold or muted as you please. Our Premium ceiling paint is a paint and primer in one and dries in just an hour so you can paint the ceiling in no time at all.
2. Clean the ceiling
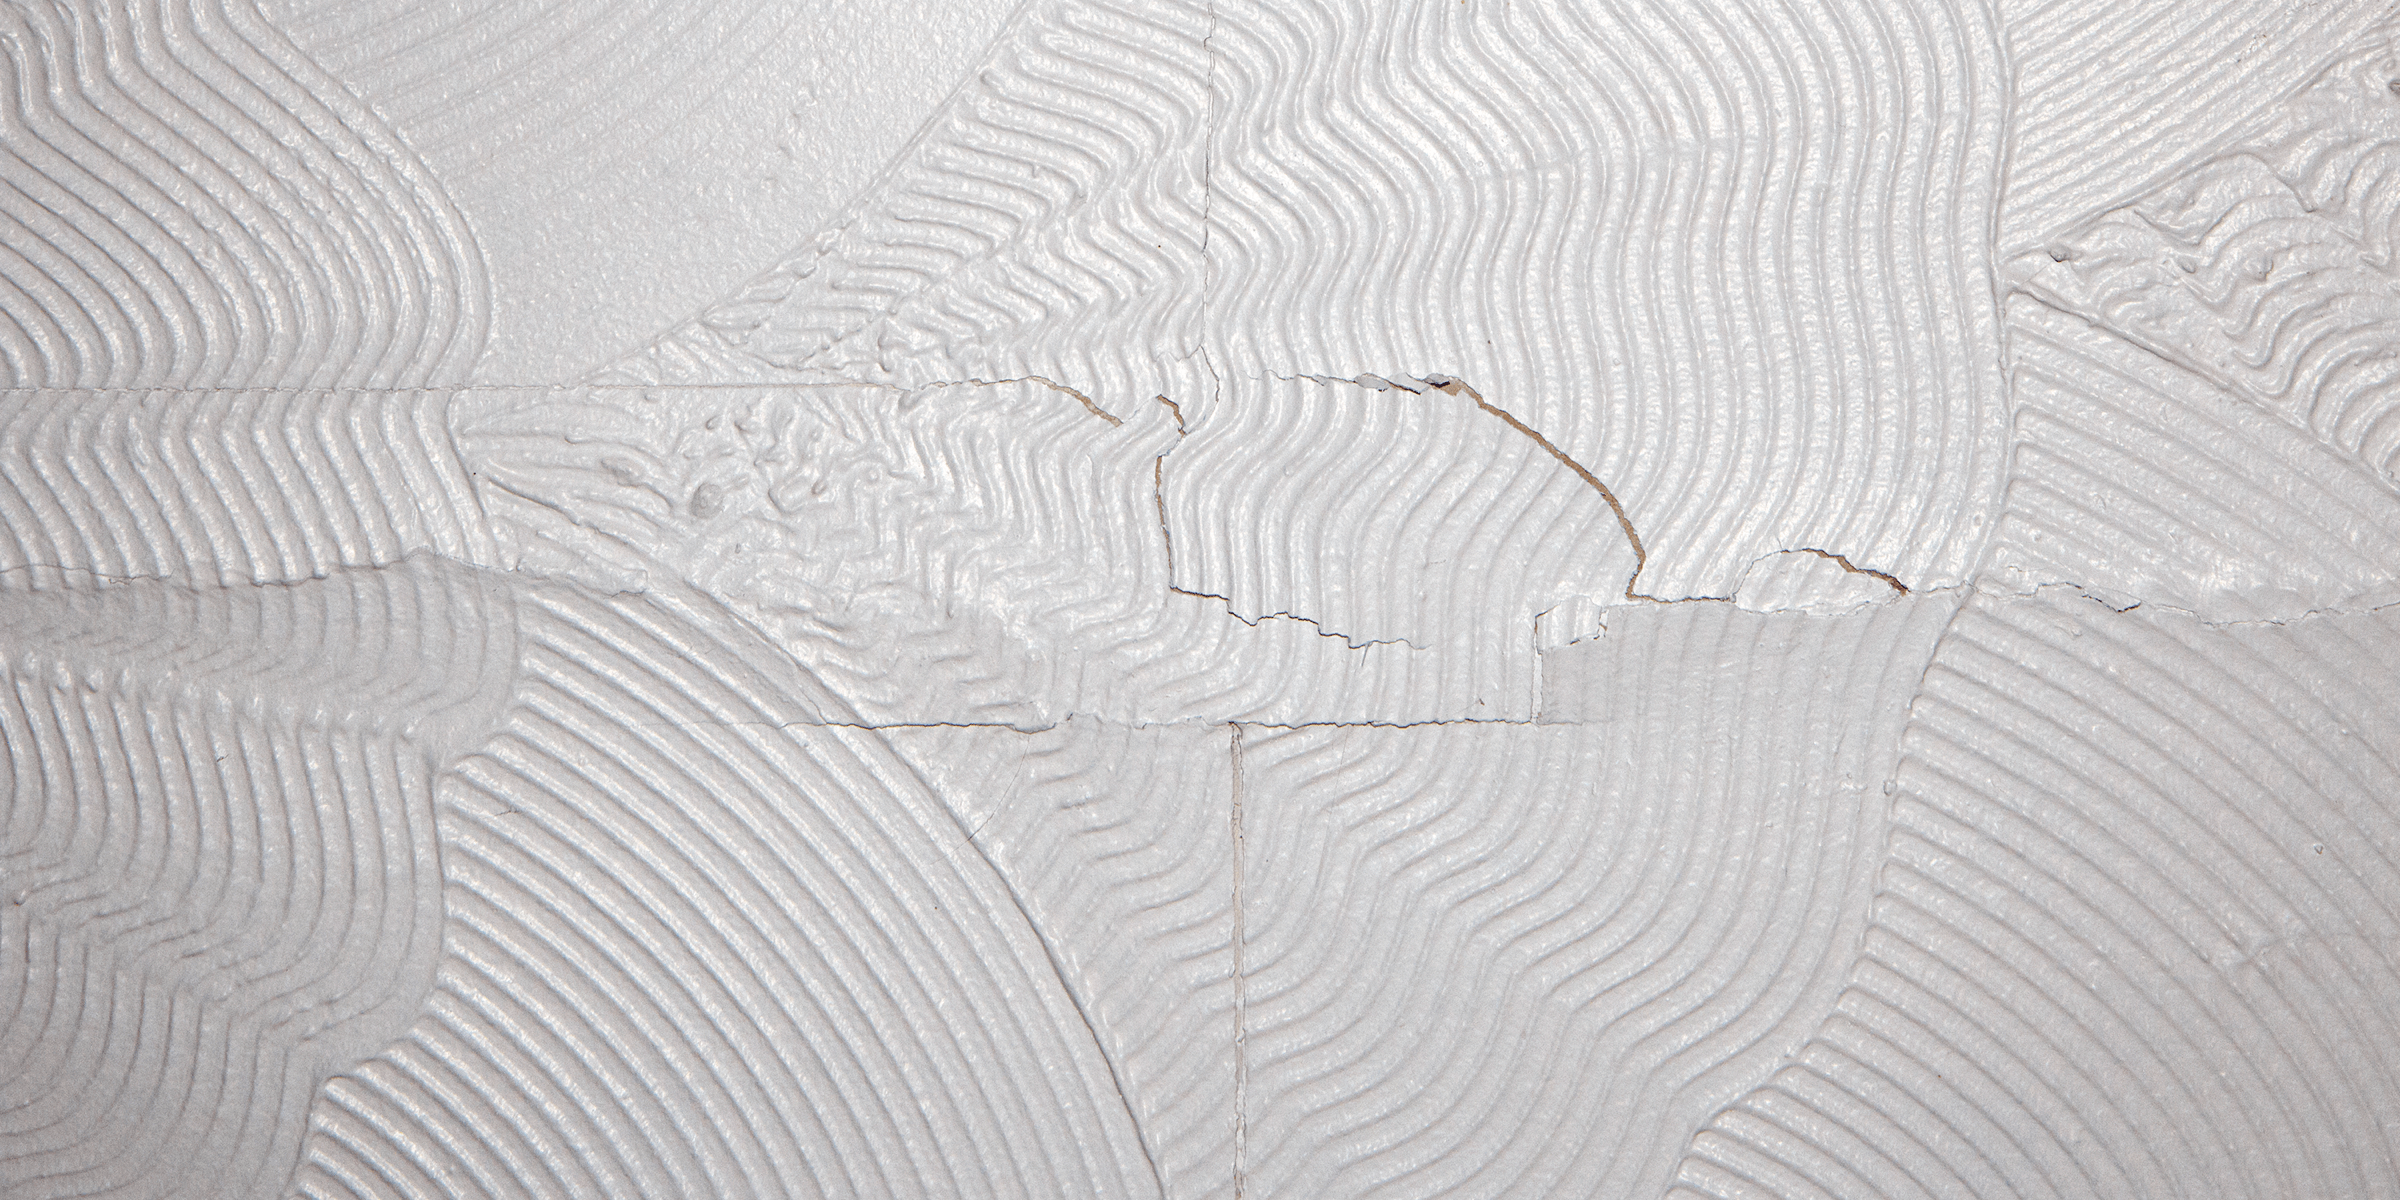
You don’t have to give it a deep clean, just a dust to dislodge any spider webs or dirt. If you notice cracks or holes, use a filler to cover them up and leave it to dry.
3. Check for rough patches
Run your hand across the ceiling to identify any rough patches that might need sanding down.
4. Protect your features
Use masking tape to protect light fixtures hanging from your ceiling. If there’s furniture that you’ve been unable to remove from the room, use dust sheets to protect from paint.
5. Start small
Begin by using your precision brushes to paint around fixtures and ‘cut in’ by roughly two inches at the edge of the ceiling. If you’re not painting the rest of your room, protect the paint on your walls with tape.
6. Finish the job
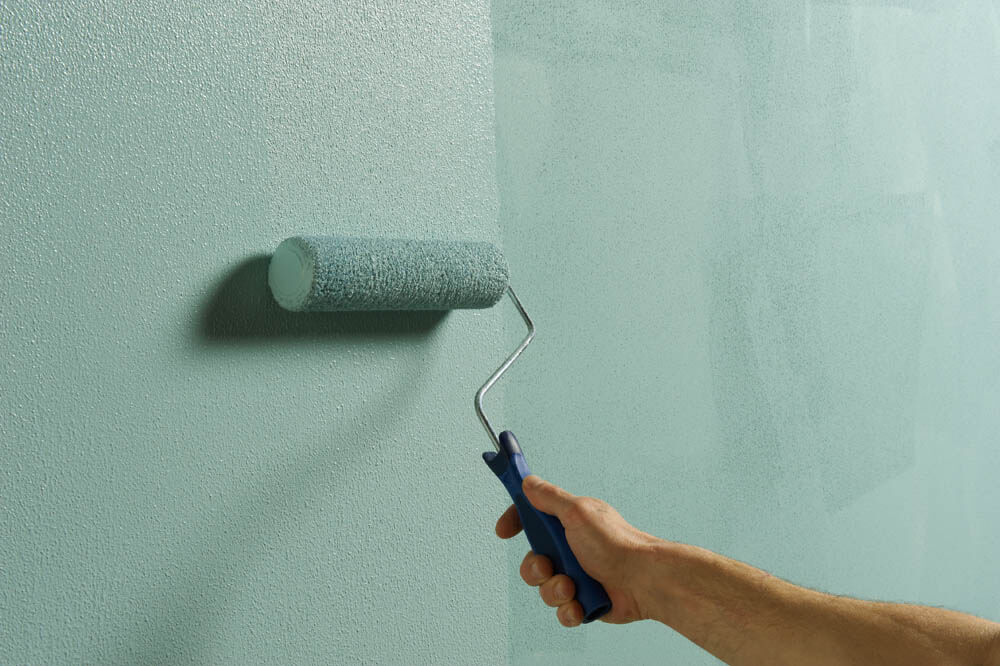
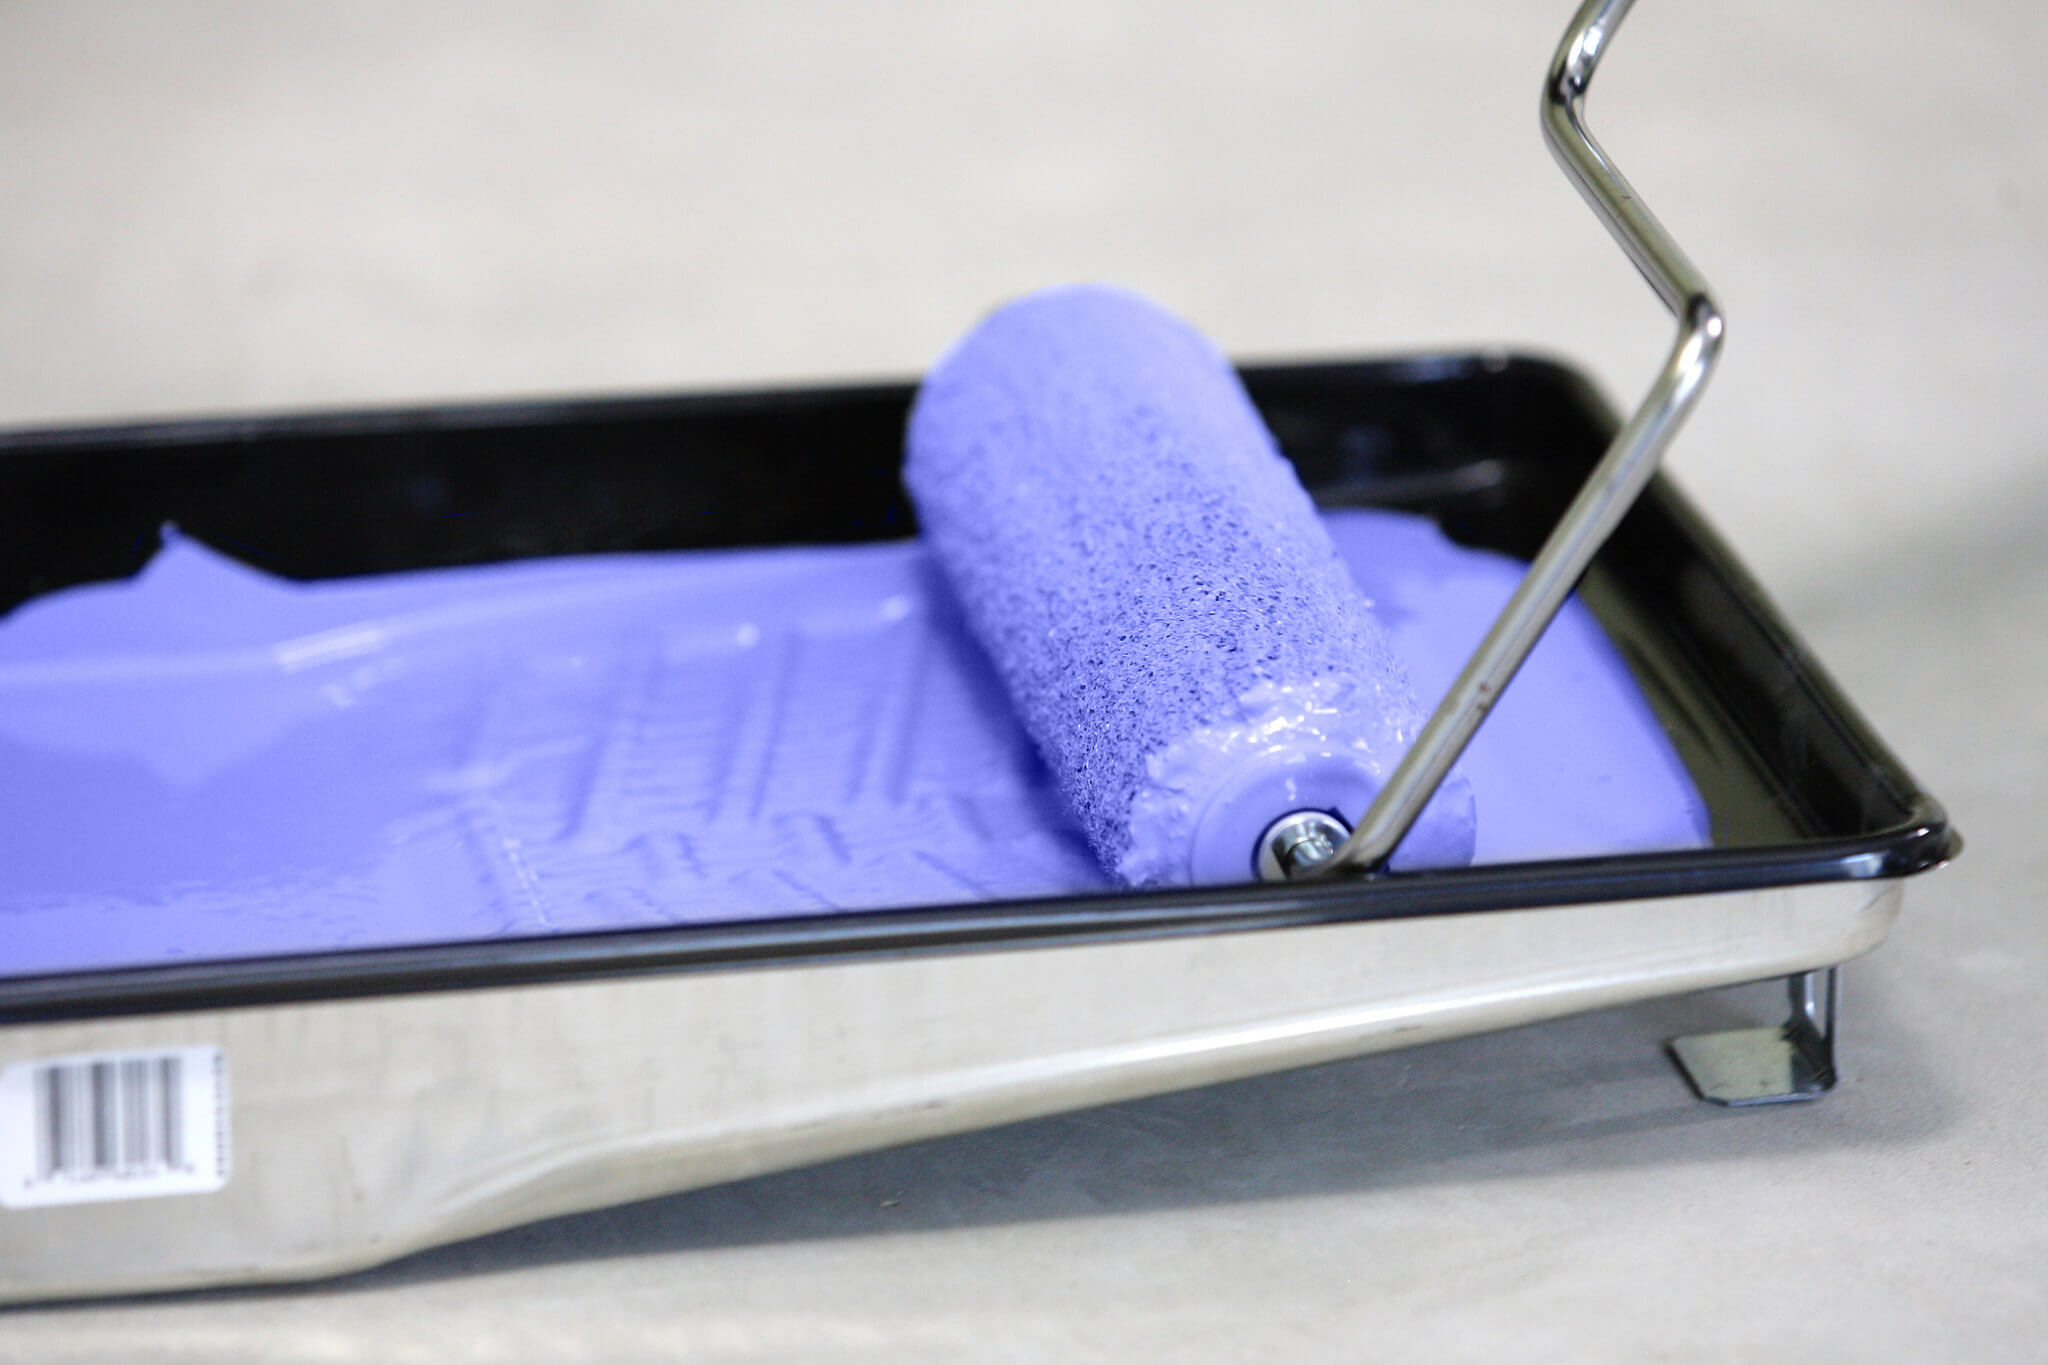
Once you’ve painted the edges of your ceiling, it’s time to use the roller to cover the rest of it. Dampen the roller first with a little bit of water to help pick up the paint and stop it from drying with a tacky texture.
Start in the corner by the window and work your way across your ceiling. There are a couple of ways to make sure you get good coverage – you can paint in a ‘w’ pattern focusing on a square section of ceiling at a time; or you can paint the first coat lengthways away from the window and the second by painting widthways.
7. Finishing touches
Once the paint is dry, remove the masking tape and admire your handy work!


