How to paint a ceiling
Painting a ceiling might seem like a tough task, but with the right prep, the right paint and good guidance, it’s a manageable job that can be done in a day.
A newly painted ceiling can add a fresh sense of brightness to your space and give it a clean, rejuvenated feel. So, whether you’re painting your ceiling for the first time or updating it for an instant lift, our guide will help you approach the best way to paint a ceiling, step-by-step.
Tools & Materials Checklist
Here’s a helpful list of all the tools and materials you will need to paint your ceiling:
- Dust sheets
- Painter’s tape
- Step ladder
- Extension pole
- Paint roller & tray
- Angled paint brush
- Sponge or cloth
- Valspar Walls & Ceiling Paint
- Valspar Universal Primer
- Mild detergent or Sugar soap
- Filler (If Needed)
- Sandpaper
Before you begin
Before you open your paint tin, take a moment to focus on the prep work needed to ensure a smooth job. After all, this could make all the difference in achieving a smooth, professional finish. Realistically, painting your ceiling could potentially be a messy job, so it’s also important to think about protecting all the other elements of your room to ensure no damage is created during the process.
Take a look at our step-by-step guide below, which takes you through all the stages, from preparation to finishing touches:
How to Paint a Ceiling: Step-by-Step Guide
Step 1. Choose your paint
Choosing the right paint is not just about matching the right colour. It’s also about finding a paint that’s durable and efficient to keep your ceiling looking freshly painted for years to come. Our Valspar Walls and Ceiling Paint is a paint and primer in one to help you finish the job in half the time! Available in matt, mid-sheen and silk finishes, we can also mix to 2.2 million colours - so you can match your walls exactly, or introduce a bold new colour as a statement piece!
Step 2: Prep the Room
Start by clearing the room as much as possible, moving furniture and soft furnishings out to another room if you can. Protect your floors and carpets with drop cloths or plastic sheets and open the windows for good ventilation. Use masking tape to protect light fixtures hanging from your ceiling, or remove them if possible. If you’re not painting the walls of your room, protect them with Painter’s tape all around the edges to ensure no drips. Make sure all ceiling lights are switched off in the room before you begin - you may need to add additional up-lighting in the room to help you see better.
Step 2. Clean the Ceiling
Because of its location, your ceiling shouldn’t be too dirty, however there may be the odd cobweb or dust patch that will need dealing with before you paint. Use a duster or feather brush to dust off any areas that need attention. While you’re cleaning up, make a note of any cracks or holes in the ceiling that may need patching up.
Step 3. Filling & Sanding
If you did locate any cracks or holes, use a wall filler to close the gaps and leave time for the filler to dry. Run your hand across the ceiling to identify any rough patches that might need sanding down, and if so, use a fine sheet of sandpaper to smooth over until you have a flat, clean surface.
Step 5. Apply Primer
Applying primer might not be essential, for example if you’re using our all-in-one Valspar Premium Walls & Ceilings Paint . However, if you do need to use a primer, use an angled brush to paint it around the edges of your ceiling, into the corners and around any ceiling hanging light fixtures. Then, once the edges are done, use your roller to apply primer in the centre of the ceiling using long, even strokes in the same direction. Follow the advised drying time for your primer - it will usually be a couple of hours.
Step 6: Apply Ceiling Paint
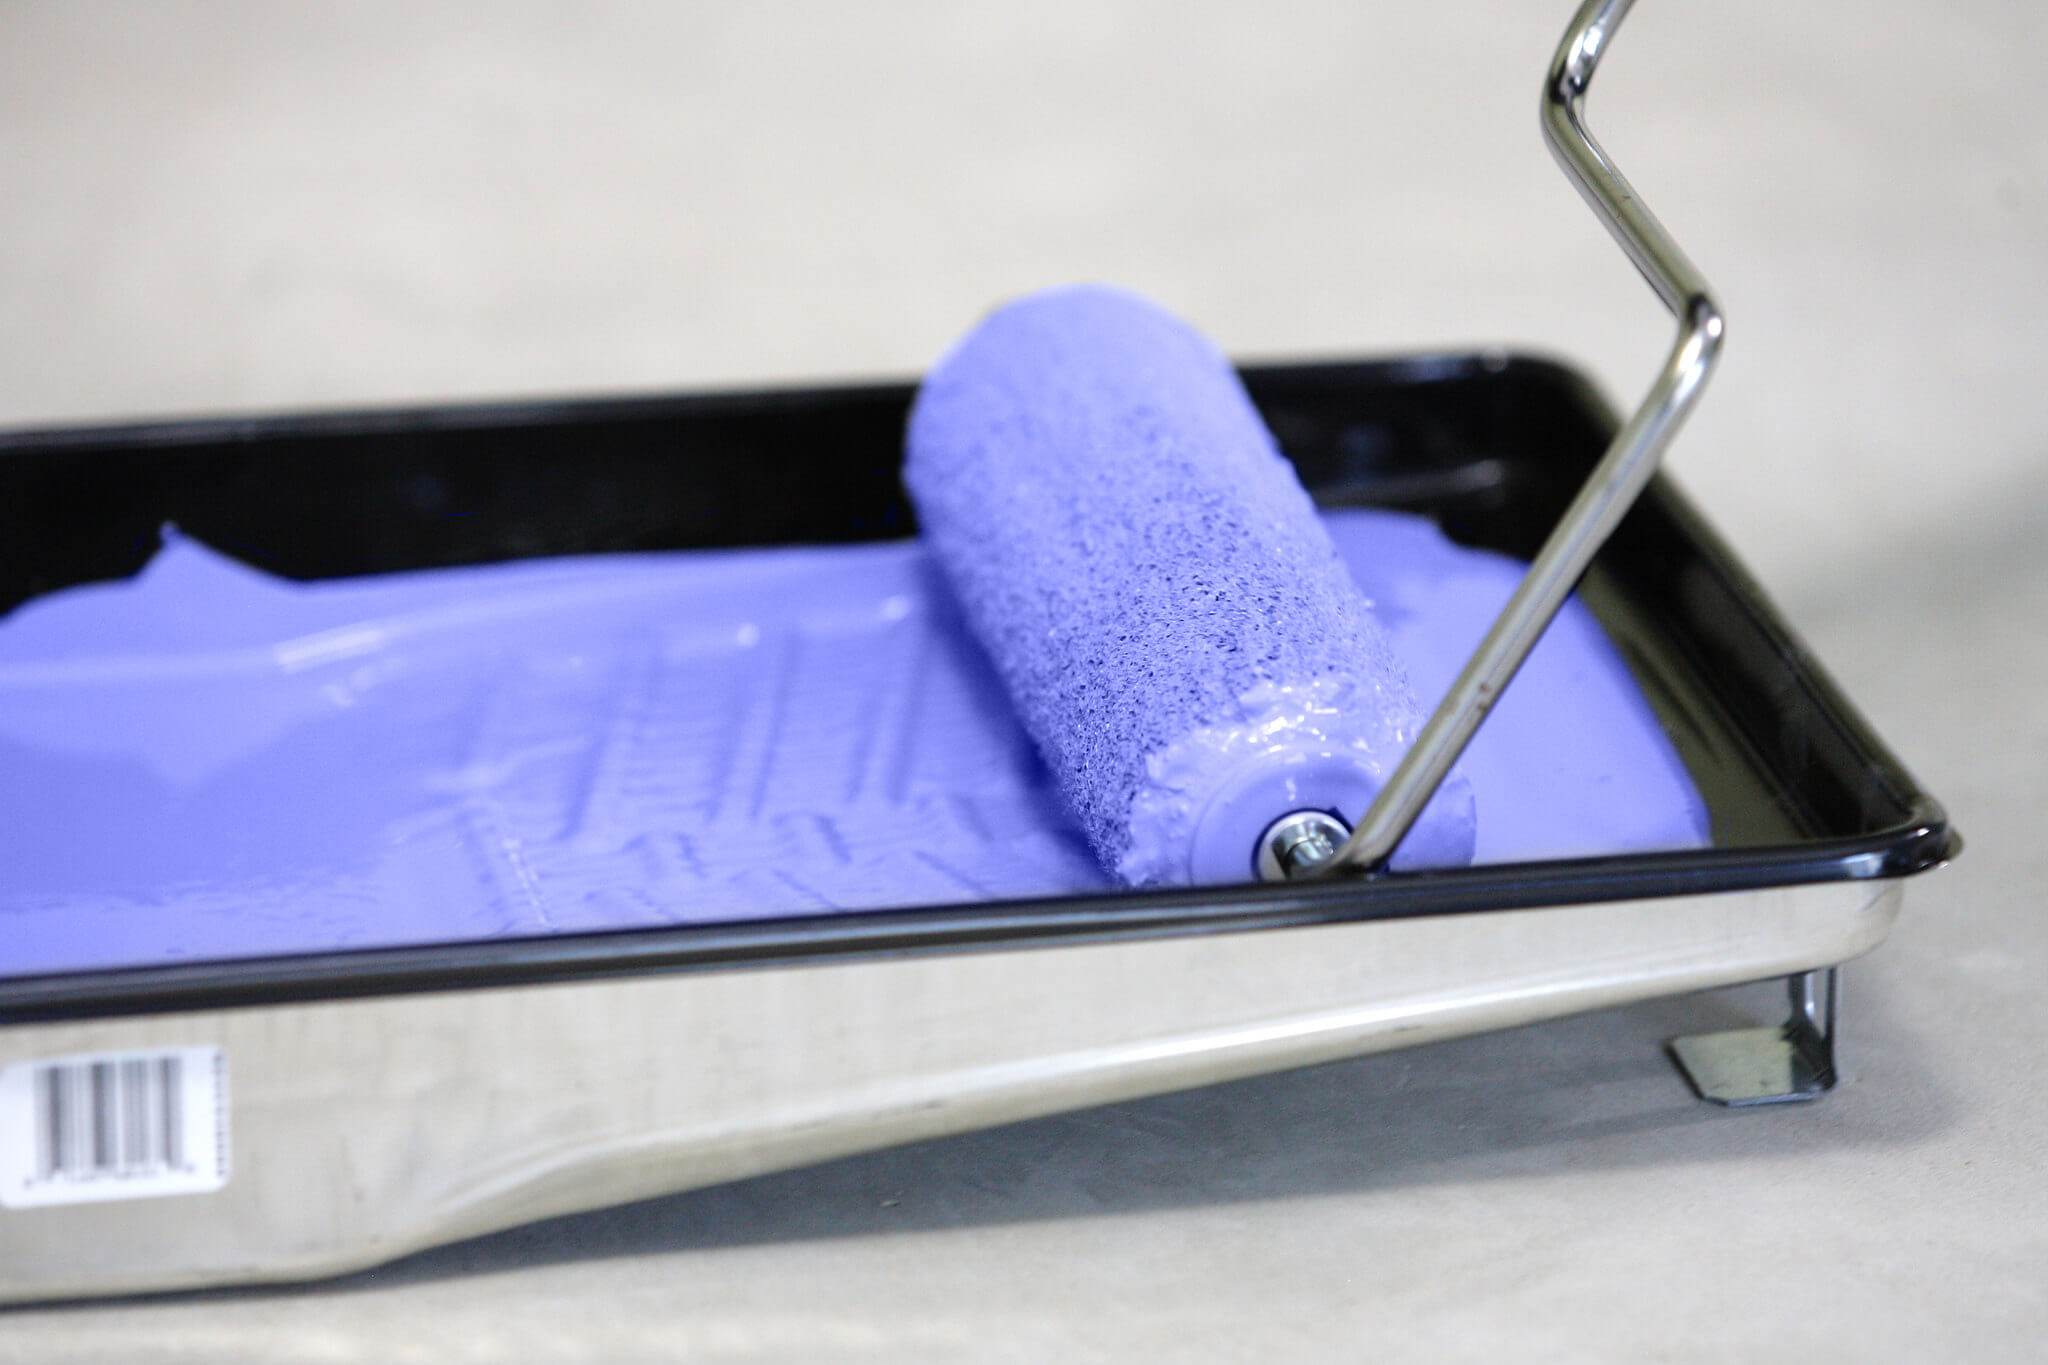
Similarly to how you would apply your primer, use your precision brushes to paint a border around the edges of the ceiling, into the corners and around any light fixtures. Once you’ve painted the edges of your ceiling, it’s time to use the roller to cover the rest of it. Dampen the roller first with a little bit of water to help pick up the paint and stop it from drying with a tacky texture. Pour your paint into your roller tray and evenly load the roller, taking special care not to load it too heavily.
Wondering how you get the best coverage on a ceiling? The best way to ensure you get good coverage is to start by painting in a ‘W’ or ‘M’ pattern focusing on a square section of ceiling at a time. Then it’s time to fill in the shapes without lifting the roller and avoiding lap marks - rolling in parallel strokes is generally considered the best technique for this, typically away from the wall with your windows in.
Once finished, you may need to wait to apply a second coat. Wait for the first coat to dry (Our Walls & Ceiling Paint requires 2 - 4 hours) and repeat if necessary.
Step 7: Finishing Touches
Once the paint is drying, you can remove the Painter’s tape carefully from the edges of the wall. Use this time to clean your brushes and roller. Only remove your dust sheets/protectors and replace furniture once the ceiling is fully dried.
What type of paint is best for ceilings?
Our Valspar paint range offers a variety of products that are perfect for ceilings. Depending on the colour, finish and durability you need, there’s sure to be a paint for you from our range below:
Valspar Premium Walls & Ceilings Paint
When you want a professional finish in half the time, our Premium Walls & Ceiling Paint is all you need. Suitable for use without a primer, it’s fast and efficient as well as being superior in quality and safety. It’s low VOC so you can be confident it’s the kindest paint for your household. Plus, it’s available in either a Matt, Mid-Sheen or Silk finish, with over 2.2 million colour options available to match to!
Valspar Classic Walls & Ceilings Paint
Versatile, scrubbable and stain-resistant, our Classic Walls & Ceilings Paint is your staple for great looking ceilings. It’s available in a Matt or Silk finish and can be matched to over 2.2 colour options.
Valspar Premium Walls & Ceilings Pure Brilliant White
When you want a modern, white matt finish on your ceiling, then our Premium Walls & Ceilings Pure Brilliant White is your perfect paint partner. The water-based formula offers a quick-drying, splatter-free finish with fantastic coverage and long-lasting results.
What’s the best roller for painting a ceiling?
With so many options to choose from, it can often feel a little overwhelming knowing what type of paint roller to use for each job. When it comes to the best roller for painting a ceiling, you ideally want a synthetic roller (nylon or polyester), which is most suitable for a water-based/emulsion paint. A 9-inch roller (23cm) is a standard size for ceilings as it will cover a good surface area, without being too big and bulky. You may also find it useful to pair your roller with an extension pole to avoid high step ladders and avoid straining to reach hard-to-get-to areas.
What’s next?
Ceiling looking fresh and new? Now you’re on a roll, you might want to think about what other areas need a refresh in your home. Take a look at our other How To Guides below for inspiration:


